The allure of long exposure photography lies in its ability to capture time’s fluidity, transforming fleeting moments into ethereal, timeless images. As part of our “Photography Technique Tutorials” series on rentaphotostudio.com, today we delve into the mesmerizing world of long exposure photography. Whether you’re a beginner exploring this technique for the first time or an advanced practitioner aiming to refine your skills, we’ve got you covered.
The Magic of Long Exposure
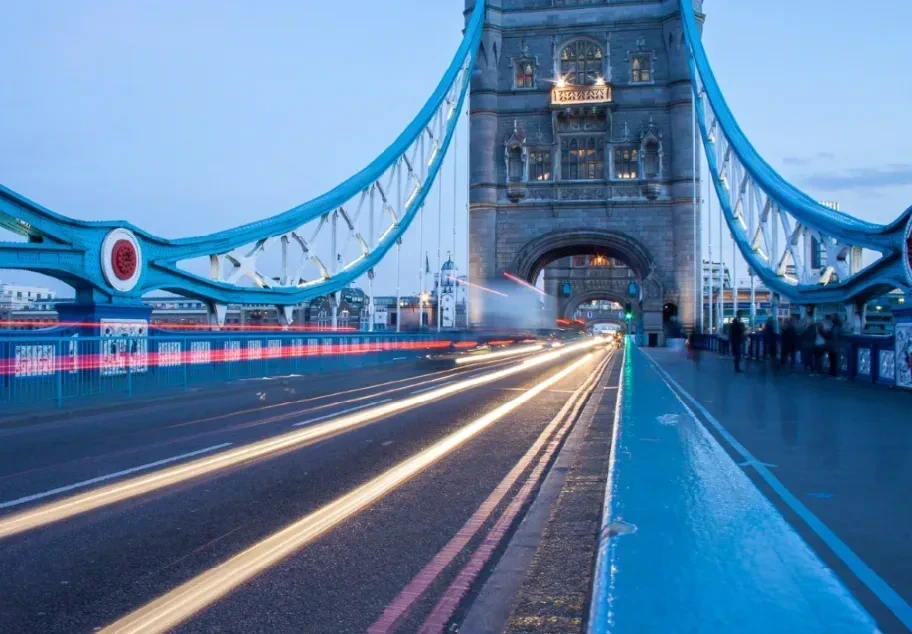
Long exposure photography involves opening the camera’s shutter for an extended period, enabling light to hit the sensor for longer than usual. This technique allows for the capture of movement in a single still image, producing effects like light trails, silky smooth water, or dramatic cloud motion. The results can be truly breathtaking, providing a unique perspective on everyday scenes.
Equipment Essentials
Before you embark on your long exposure journey, make sure you’re equipped with the right gear:
- Camera: Any DSLR or mirrorless camera with a manual mode will serve you well.
- Tripod: As the camera shutter remains open for a prolonged period, any camera shake can ruin the shot. A sturdy tripod is essential to avoid this.
- Neutral Density (ND) Filters: These filters reduce the amount of light entering the lens, allowing for longer exposure times without overexposing the shot.
Mastering the Technique
Once you’re armed with the right equipment, it’s time to master the technique. Here’s a step-by-step guide:
- Choose your location and subject: Locations with moving elements (water, clouds, traffic) are ideal for long exposure shots.
- Set up your gear: Mount your camera on the tripod and attach the ND filter. Make sure everything is secure.
- Adjust your camera settings: Switch your camera to manual mode. Start with a low ISO (around 100) to reduce noise. Choose a narrow aperture (higher f-stop number) to increase the depth of field. Finally, adjust the shutter speed – how long you leave it open will depend on the effect you want to achieve and the available light.
- Focus: Auto-focus on your subject, then switch to manual focus to lock it in. This prevents the camera from refocusing when the shutter is pressed.
- Shoot and review: Take your shot, then review it on your camera’s LCD screen. Check for focus, exposure, and effect. If necessary, adjust your settings and try again.
Post-Processing
Post-processing is integral to long exposure photography. Software like Adobe Lightroom and Photoshop can be used to fine-tune exposure, contrast, and white balance, remove noise, and enhance the final image.
Experiment and Explore
The most important part of long exposure photography is to experiment. The effects you can achieve vary greatly depending on the time of day, weather conditions, and the subject. Don’t be afraid to try different settings, filters, and subjects. The more you practice, the more instinctive it will become.
Long exposure photography can transform the mundane into the extraordinary, making it a rewarding technique to master. We hope this guide has illuminated its potential and provided you with a solid foundation to start your long exposure journey. Happy shooting!
Remember, at rentaphotostudio.com, we’re here to support your photographic journey with the latest equipment, advice, and inspiration. Stay tuned for more technique tutorials and never stop exploring!
0 Comment