Portrait photography is an art that marries technical skills with an understanding of human connection. As a photographer, you need to master how light shapes your subject to create compelling portraits. Our comprehensive tutorial at rentaphotostudio.com provides an easy-to-understand guide on the most effective portrait lighting techniques.
Understanding the Basics
Lighting in portrait photography is a complex matter. It can evoke mood, create depth, highlight features, and tell stories. Here are three essential components to consider:
- Quality of light: This refers to the hardness or softness of the light. Hard light creates strong shadows, while soft light minimizes shadows and diffuses across the subject.
- Direction of light: The direction from which light hits your subject can dramatically change the feel of the image. Front-lighting illuminates the subject evenly, while side-lighting can emphasize texture and depth.
- Color of light: Also known as the color temperature, the color of light can alter the mood of your portrait. Warm colors (like reds and oranges) generally convey a friendly, inviting mood, while cooler colors (like blues) can evoke a calm, serene atmosphere.
Essential Portrait Lighting Setups
Now that you’re familiar with the basics, let’s explore four fundamental portrait lighting setups:
- Butterfly Lighting: Named for the butterfly-shaped shadow this setup creates under the nose, butterfly lighting is flattering for most faces and emphasizes cheekbones. The light source should be placed in front of the subject and slightly above eye level.
- Loop Lighting: This versatile setup involves creating a small shadow or “loop” on the side of the subject’s nose. To achieve this, place the light source slightly off to one side and above the subject’s eye level.
- Rembrandt Lighting: Known for its dramatic use of light and shadow, Rembrandt lighting creates a small, illuminated triangle on the cheek opposite your light source. Position your light source at around 45 degrees from your subject and slightly above eye level.
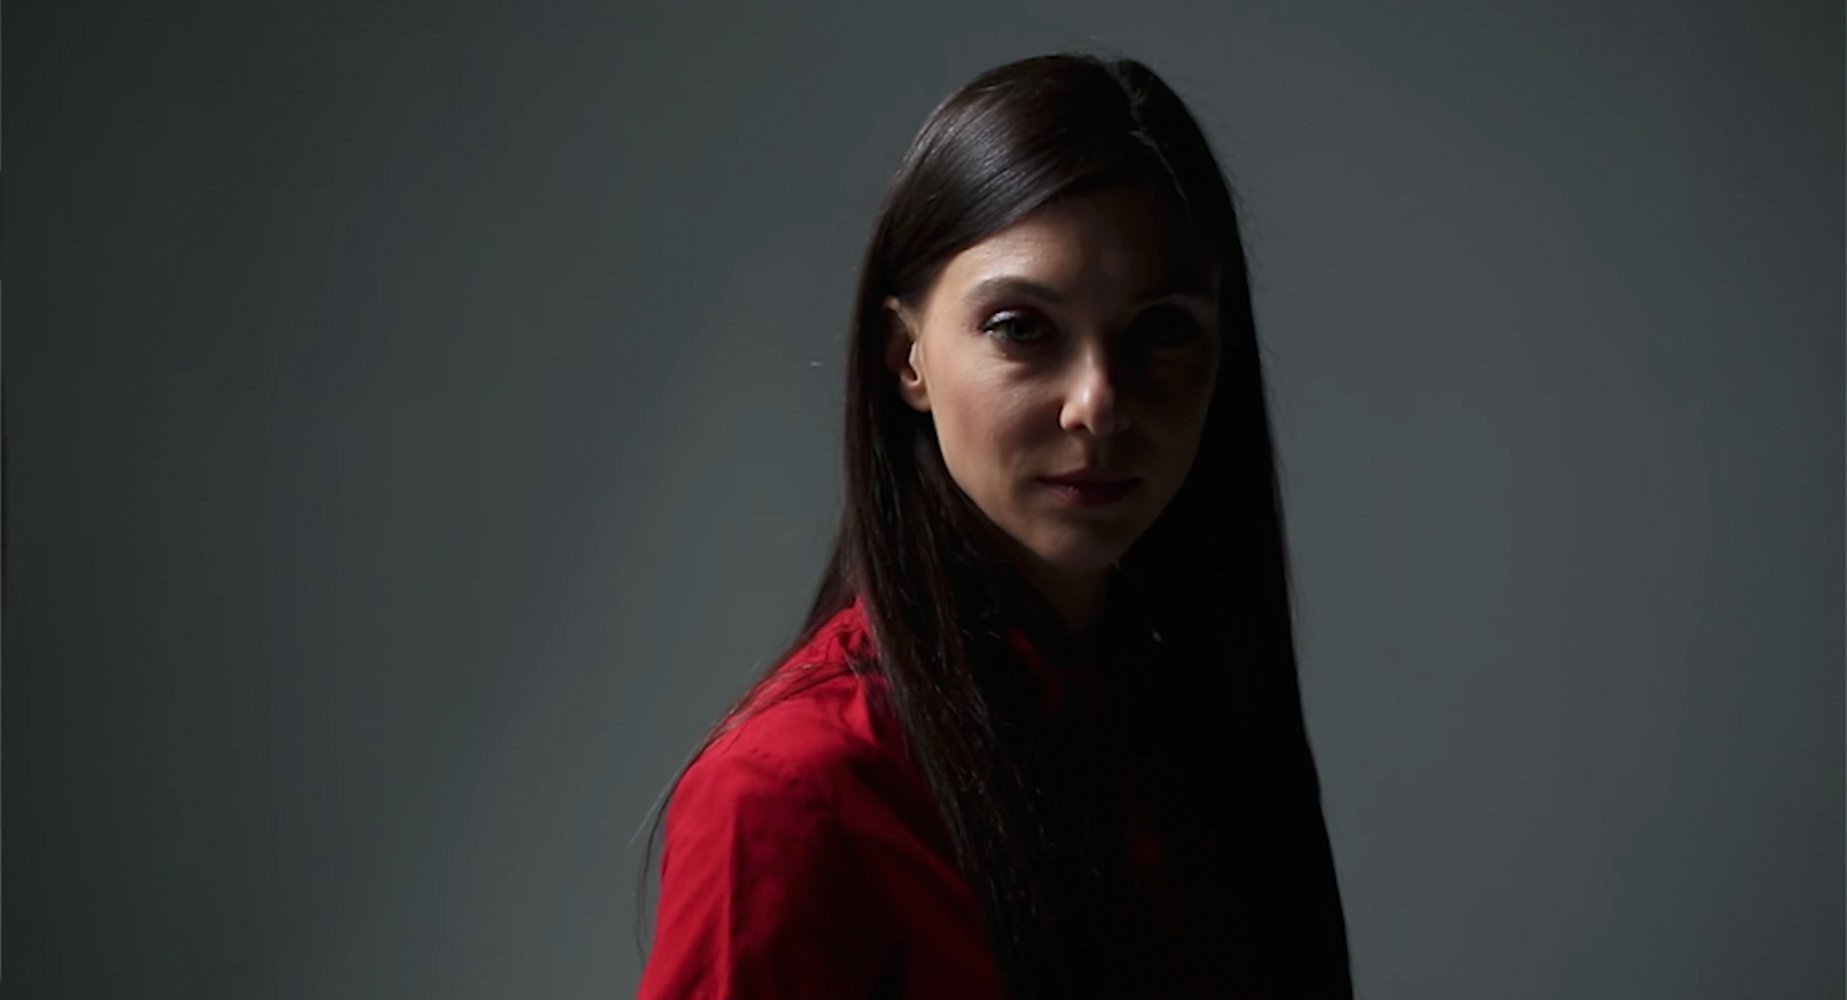
- Split Lighting: Ideal for creating moody portraits, split lighting illuminates only half of your subject’s face. Place your light source to the side of your subject, parallel with their face.
Choosing the Right Equipment
You don’t need an array of expensive gear to create beautiful portraits. Here’s a basic kit:
- Main light: Also known as the key light, this is your primary light source.
- Fill light: This light source softens and extends the illumination provided by the main light, reducing shadow depth.
- Reflectors: Reflectors bounce light onto your subject, filling in shadows and reducing contrast.
- Flash diffusers: A diffuser softens the light from your flash, making it more flattering and less harsh.
- Lighting stands: These provide support for your lighting fixtures, offering stability and versatility.
Tips for Better Portrait Lighting
- Experiment: Every face is different. What works for one person may not work for another, so always be prepared to adapt your setup.
- Understand your subject: Speak to your subject. Understanding their personality and comfort levels can inform how you choose to light them.
- Never stop learning: Photography is an ever-evolving field. Attend workshops, watch tutorials, and practice constantly to refine your skills.
The ability to manipulate light is one of the most important skills a portrait photographer can master. With practice, these techniques will become second nature, allowing you to focus on the creative aspects of your portrait sessions. Remember, technical proficiency, coupled with your unique creative vision, can result in stunning, soulful portraits that truly resonate.
Whether you’re a budding photographer or looking to polish your skills, rentaphotostudio.com is your go-to resource for tutorials, equipment reviews, and inspiration. Stay tuned for more technique tutorials and never stop exploring!
0 Comment