Photography is a medium that has the power to capture and immortalize moments, scenes, and feelings. One such genre that takes us beyond our earthly realm and into the infinite expanse of the cosmos is astrophotography. This genre is dedicated to photographing astronomical objects, celestial events, and areas of the night sky. Let’s embark on an adventure into the celestial sphere and explore the allure of astrophotography.
What is Astrophotography?
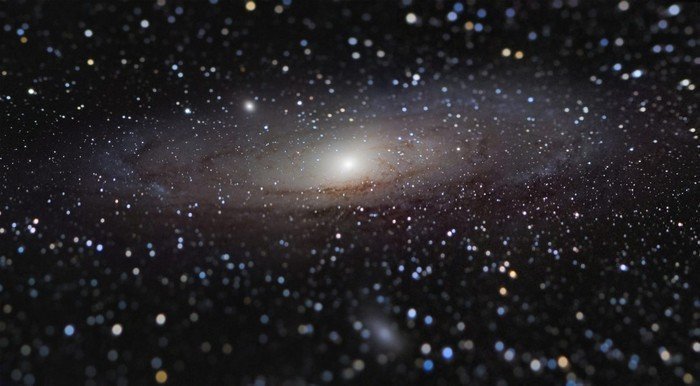
Astrophotography is the art of capturing the beauty of the night sky, from stars and galaxies to nebulae and other celestial bodies. This genre is a unique blend of art and science, requiring not just photographic skills, but also a basic understanding of astronomy. It’s a window to the universe, a field that allows us to capture images that are out of this world—quite literally.
The Equipment You’ll Need
Astrophotography might seem like an intimidating endeavor, given its vast scope and technicalities. However, you don’t necessarily need incredibly high-end equipment to get started. Here are the basics:
- A DSLR or Mirrorless Camera: You need a camera that allows manual control over settings like aperture, shutter speed, and ISO.
- A Sturdy Tripod: The night sky photography requires long exposures, making a strong and stable tripod essential.
- A Fast, Wide-Angle Lens: A fast lens (with an f/2.8 or wider aperture) can gather more light, which is crucial in low light conditions.
- A Remote Shutter Release: This tool helps you avoid camera shake when pressing the shutter.
Getting Started with Astrophotography
Let’s take a closer look at the steps and settings needed to capture the night sky:
- Find a Dark Spot: Light pollution is the arch-nemesis of astrophotography. Use apps and websites that show light pollution maps to find an optimal shooting location.
- Plan Your Shoot: Use astronomy apps to know when and where celestial bodies will be visible.
- Set Up Your Equipment: Mount your camera on the tripod and attach the remote shutter release.
- Adjust Your Camera Settings: Start with these initial settings – Mode: Manual, Aperture: As wide as possible (f/2.8, for example), Shutter Speed: 20 seconds, ISO: 1600.
- Focus: Auto-focus doesn’t work well in the dark. Switch to manual focus, and adjust until the stars appear sharp in your frame.
- Shoot and Experiment: Take a shot, review it, and adjust your settings as needed. Astrophotography is all about experimenting and learning.
Post-Processing
Astrophotography does require post-processing to bring out the best in your images. Use software like Adobe Lightroom or Photoshop to adjust brightness, contrast, clarity, and color balance. There’s also specialized software like DeepSkyStacker, which can help with advanced techniques like image stacking to reduce noise and enhance details.
Conclusion
Astrophotography is a challenging yet rewarding genre of photography. It requires patience, persistence, and a willingness to brave the dark, often cold, nights. But the results, the breathtaking images of our cosmos, make it all worthwhile. So, gear up, look up, and begin your journey to the stars.
Remember, every photographer started with their first picture. Your first astrophotography image might not be perfect, and that’s okay. Each shot you take will bring you one step closer to the image you envision. So, keep shooting, keep learning, and keep reaching for the stars. The universe is waiting for you.
0 Comment