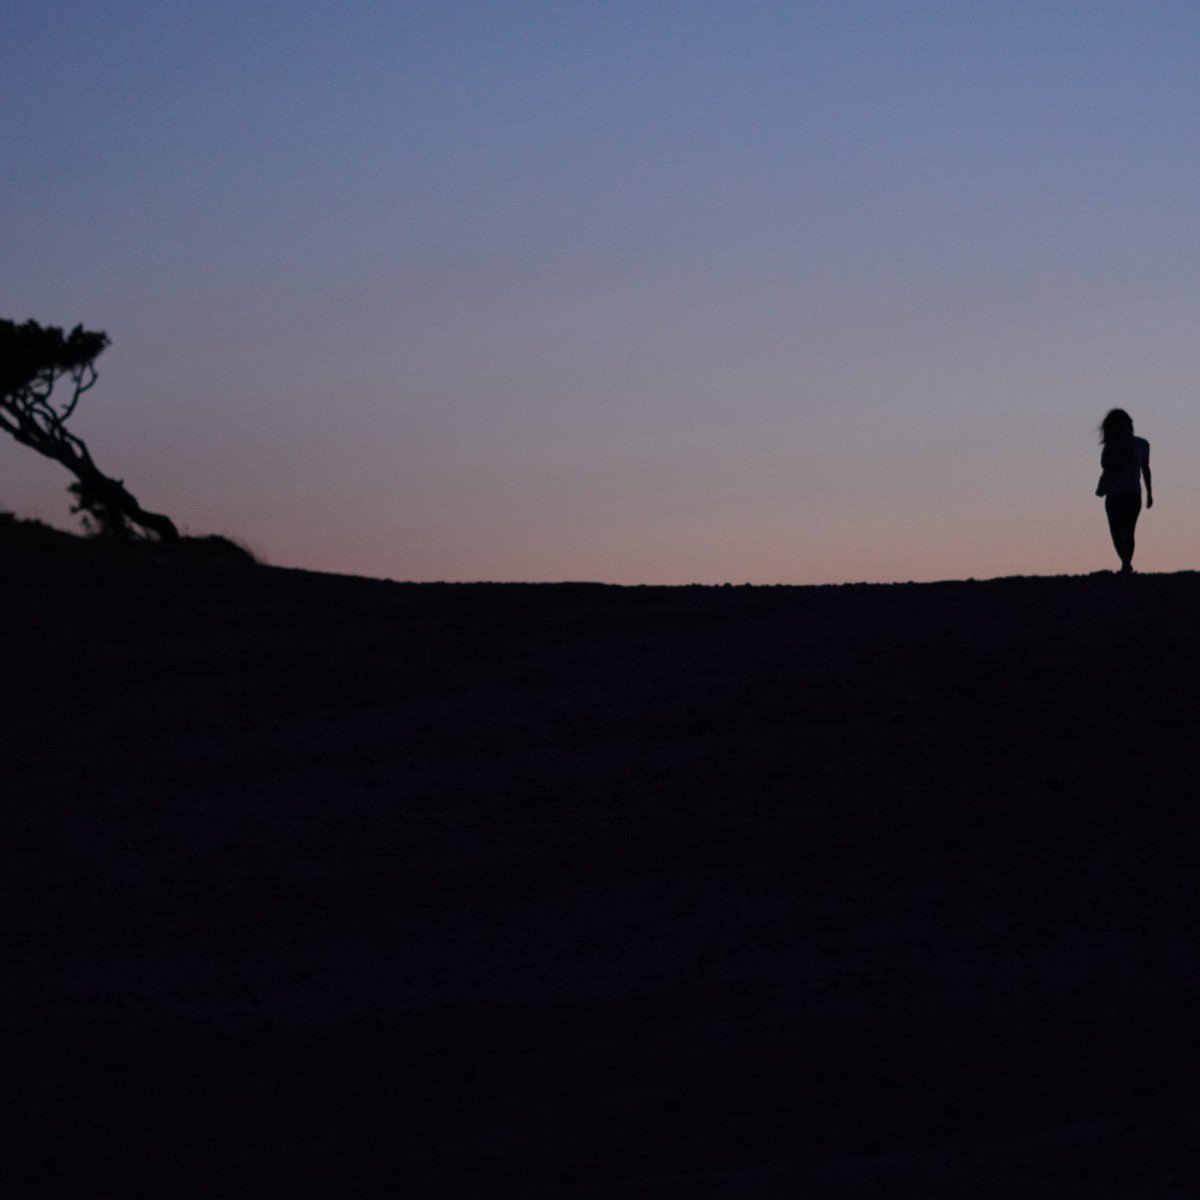
Picture this, you’re standing in a dusk-lit landscape, surrounded by hues of oranges and reds, your camera focused on the setting sun. You press the click button only to find in the viewfinder the beauty replaced by a washed-out, lifeless image that looks nothing like the real scene. Does it sound familiar? Have you ever wondered why this happens?
Well, let’s spill the beans: it’s likely due to an improperly set white balance.
White Balance: A silent game-changer
White balance, the unsung hero of photography techniques, is too often overlooked, despite having a significant impact on your photos. It’s the wild card you didn’t know you needed. Let me tell you, white balance is as crucial as mastering your Portrait Lighting Techniques. They both handle how light interacts with your subjects.
Now, you might ask, “What is white balance anyway?”. In the simplest terms, white balance in photography is the adjustment of colors to make the photo look more natural. It’s about capturing colors in a way that is true to what the naked eye sees. The thing is, our eyes adjust to different lighting conditions on-the-fly, compensating for the warmth or coolness of light. However, cameras can’t do this without a little help.
“But isn’t it easier to fix color issues in post-production?” you might say. Well, indeed, post-processing tools can correct color inaccuracies, but it’s not always an ideal solution. Sometimes, manipulating the original colors too much can lead to a decrease in image quality. Therefore, getting it right at the time of capture is priceless.
The Nuts and Bolts of White Balance
So, are you ready to delve deeper? Let’s break down how white balance works. The basic principle is that different light sources have different color temperatures, measured in Kelvin (K). A low Kelvin number indicates a warmer, reddish light, while a high number suggests a cooler, bluish light. Your camera’s white balance settings are essentially its way of understanding and compensating for these color temperatures.
Pause for a moment and think, ‘have you noticed how your photos look markedly different in the cool light of a cloudy day, compared to the warm glow of an indoor lightbulb, or the midday sun’s blinding brightness?’. That’s white balance doing its thing, or perhaps failing to.
Most cameras have preset white balance modes to match typical lighting situations: Daylight, Cloudy, Shade, Tungsten, Fluorescent, and Flash. There’s also an Auto mode, where the camera takes a guess, and a Custom or Manual mode, which allows you to set the white balance yourself. If you want precise control, the latter is your friend.
“I’m overwhelmed,” I hear some of you mutter. Don’t worry. It’s a lot to take in, but with a bit of practice, it will become second nature.
Learning to Handle White Balance: Some Tips
Firstly, don’t be afraid to experiment. Like most things in life and photography, it’s about trying different things and seeing what works and what doesn’t. Begin with Auto setting to observe how your camera interprets different lighting conditions, and then move on to the pre-set modes.
Once you get accustomed to the presets, dip your toes in the waters of Manual mode. A fun way to learn is to take the same photo with varying white balance settings and see how the color changes. Trust me; it’s a revelation!
Lastly, always remember to adjust your white balance according to your scene. As you move your shooting location or when the lighting conditions transform (like a sun setting or turning on an artificial light), be proactive and tweak your settings.
White Balance: A Whole New World of Possibilities
Understanding white balance is like discovering a secret tool that can drastically upgrade your photography game. With it, you can go from creating ‘just good enough’ pictures to ‘OMG, did you really click that?’ photos.
It takes some time, but isn’t mastering this invisible, vital aspect of photography worth it? After all, the beauty of a photo lies in its true-to-life colors, don’t you agree?
0 Comment