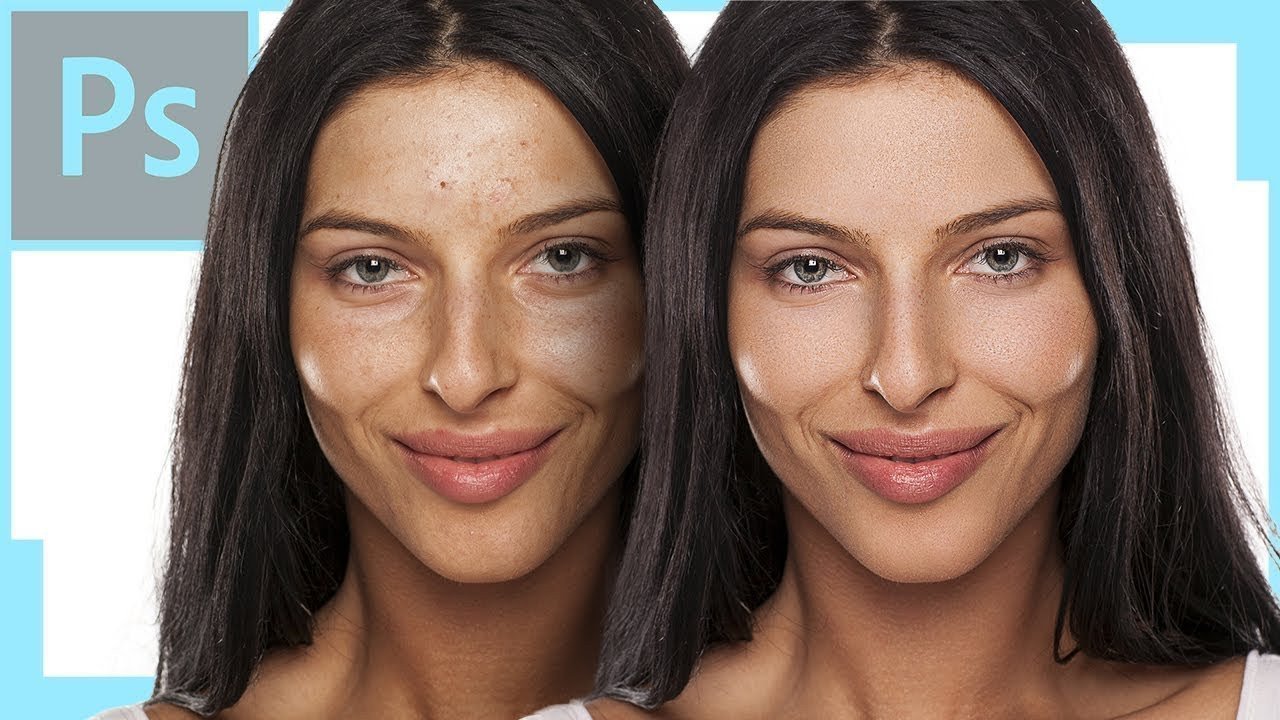
In the realm of digital photography, Photoshop is a powerful tool that can transform an ordinary image into a masterpiece. One technique in Photoshop that holds immense potential but often bewilders beginners is the Dodge and Burn method. Fear not, this guide will illuminate your path through the intricacies of this transformative method.
1. Understanding Dodge and Burn
The Dodge and Burn technique originates from the darkroom days of film photography. Photographers would manipulate the exposure of specific areas on the print to lighten (dodge) or darken (burn) them. In Photoshop, these tools help you control the light and shadow, enhancing the depth and adding dimension to your photos.
2. Accessing Dodge and Burn Tools
You can find the Dodge and Burn tools grouped together in the Photoshop toolbox. The Dodge tool icon looks like a black lollipop, while the Burn tool resembles a hand making an ‘O’ shape.
3. Using the Dodge Tool
Select the Dodge tool to lighten areas of your image. You can control the exposure in the options bar at the top, generally starting around 10% to subtly build up the effect. You can also choose whether you want to affect the Shadows, Midtones, or Highlights of your image, depending on the area you want to work on.
4. Using the Burn Tool
The Burn tool works similarly to the Dodge tool, but it darkens areas instead. Adjust the exposure and range in the options bar and start painting over the areas you want to darken.
5. Non-Destructive Dodge and Burn
While you can apply Dodge and Burn directly to your image layer, it’s better to use a non-destructive method. This way, you can modify or remove your changes without affecting the original image. To do this, create a new layer, fill it with 50% gray, and set its blending mode to ‘Overlay.’ You can now apply your Dodge and Burn adjustments to this layer.
6. Dodging and Burning with Precision
To Dodge and Burn with precision, use a small brush with a low exposure setting, building up the effect gradually. It’s always better to make subtle adjustments; otherwise, the image can look overly processed.
7. Dodge and Burn with Curves
An alternative non-destructive method involves using Curves adjustment layers to Dodge and Burn. Create two Curves adjustment layers, one for Dodging (lifting the curve) and one for Burning (lowering the curve). Invert the layer masks to black and paint with white over the areas you want to affect.
8. Practice, Practice, Practice
Like any photo editing technique, mastering Dodge and Burn requires practice. Start with simple portraits or still life images, gradually moving on to more complex compositions as you get comfortable.
By harnessing the power of Dodge and Burn, you can add a whole new level of depth and drama to your photographs. So don’t shy away from these tools. Dive in, explore, and watch your photos come alive.


0 Comment