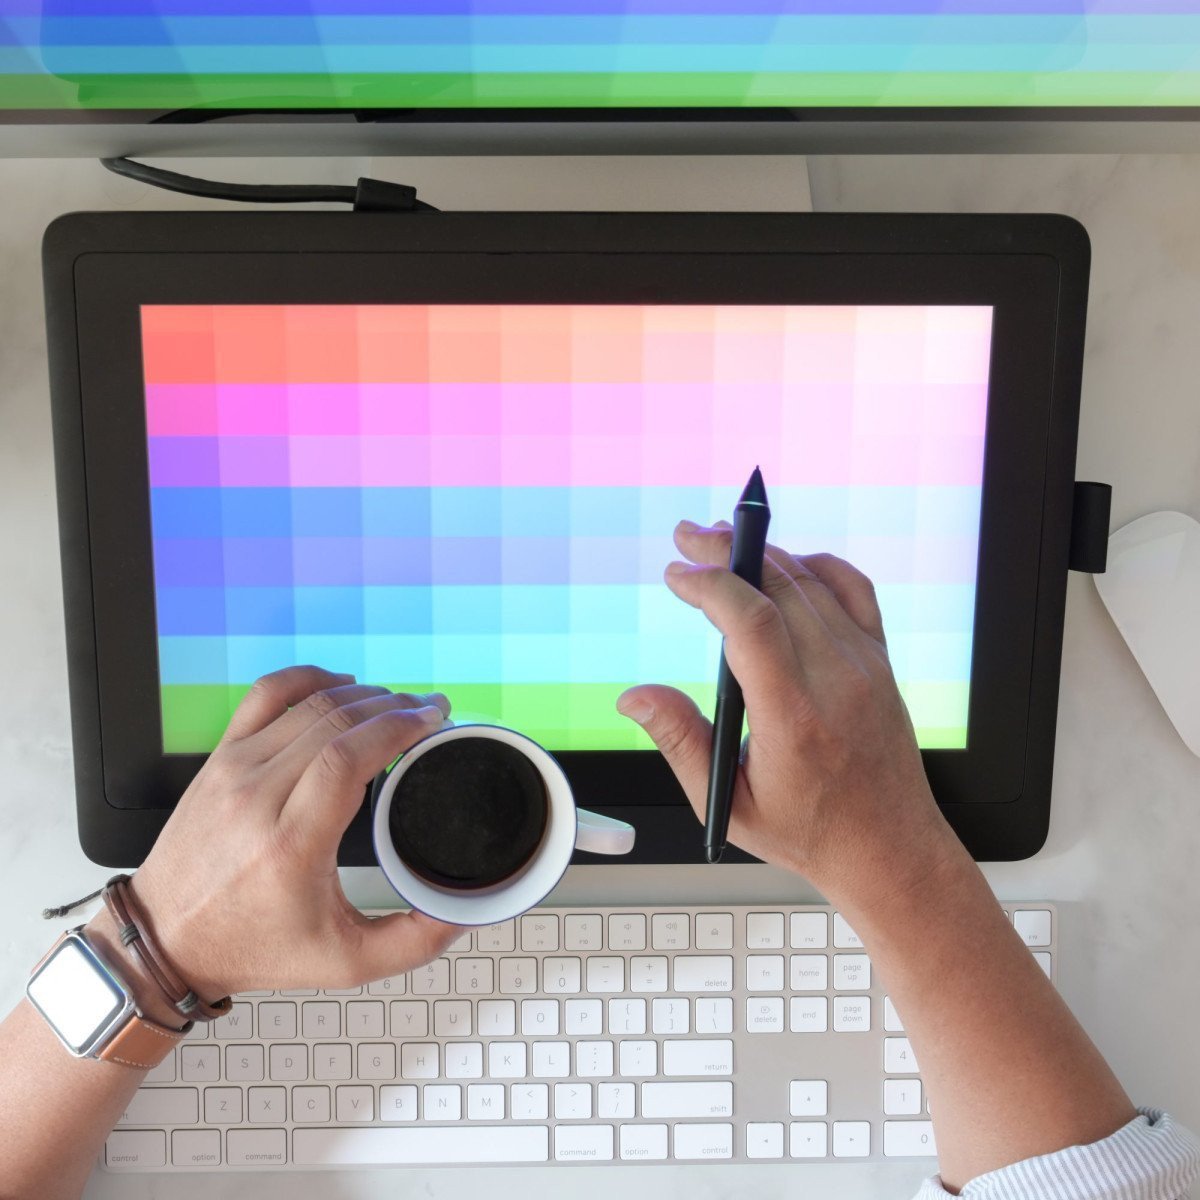
Picture this. You’re sitting at your desk, staring at your computer screen with a raw photograph open in Adobe Photoshop. You know the untouched image has potential, yet something is missing. You ponder, ‘How can I morph this average image into a professional masterpiece?’ The answer lies in the blending modes – a feature nearly as old as Photoshop itself, yet still underutilized and underestimated.
Did you know that with Photoshop’s 27 distinct blending modes, the permutations of edits you can perform on just a single layer are over 27×27? That’s over 729 unique effects within your grasp!
The Magic of Mix Modes
You see, each blending mode springs from complex algorithms working in harmony to blend pixel values between layers. This results in a variety of photo effects that can imbue your image with artistic flair, depth, and complexity.
As an occasional digital artist, I’ve found myself lost in the labyrinth of Photoshop’s blending modes. It’s like stepping into a secret garden with each pathway leading to a new discovery. Using the Multiply mode to drop out a white background or the Overlay mode for blending in textures quickly became second nature for me. I’ve seen firsthand how the right blending mode can transform a flat 2D image into a vibrant piece that seems to leap off the screen. This editing challenges article is a testament to the power of blending modes.
Demystifying Blending Modes: A Closer Look
Let’s delve into a few representative modes and see the effect they have on your images. We’ll focus on ones commonly used in photo editing. These include Multiply, Screen, Overlay, and Soft Light. Time to unveil their magic!
Multiply is the darkener of the pack. It literally multiplies the color information in each channel and results in a darker image. Ideal for creating shadows or for deepening colors, it’s a surefire way to add dramatic flair to your photos, though use with caution as it can obscure details.
Screen, on the other hand, works by inverting, multiplying, and then inverting the results again (sounds complicated, right?). Simply put, it’s your go-to tool for lightening up an image without blowing out the details. Screen is perfect to augment lighting effects or reflect ambient light within a scene.
Overlay and Soft Light are your middle-ground vagabonds. They either multiply or screen color based on the brightness of the underlying layer, making shadows darker and lights brighter. The difference comes down to intensity – Overlay is more intense, and Soft Light is, well, softer.
A Swift Journey into Advanced Blending
Now that we’ve covered some elementary blending modes, it’s tempting to stay within the comfort of the known. But occasionally pushing the envelope is where the real magic happens. Try experimenting with lesser-used modes like Color Dodge, Linear Burn, or Vivid Light, and see your imagery from a completely new perspective. The beauty of Photoshop is that there is no ‘correct’ mode. Go ahead, pick one randomly break the conventions, and who knows, you might stumble upon a signature style that becomes distinctly you.
Remember, while Photoshop blending techniques can lend a stunning aesthetic to your photos, they’re tools, not crutches. The goal isn’t to obscure mediocre photography under heavy edits but to elevate good shots into unforgettable ones. The choice of processing must serve the image and your creative vision. Don’t let it overpower the original photograph.
Ready to conquer the blending world in Photoshop? Start with our guide, experiment, and let your creativity run wild. Isn’t it time you unlocked your photos’ latent potential and transform them into evocative pieces of art?
0 Comment