Have you ever wondered how professional photographers create those captivating and moody landscapes that seem to transport you to another world? The secret lies in post-processing, particularly in Adobe Lightroom. In this tutorial, we will guide you through the process of creating moody landscapes using Lightroom’s powerful tools and techniques.
Understanding the Mood
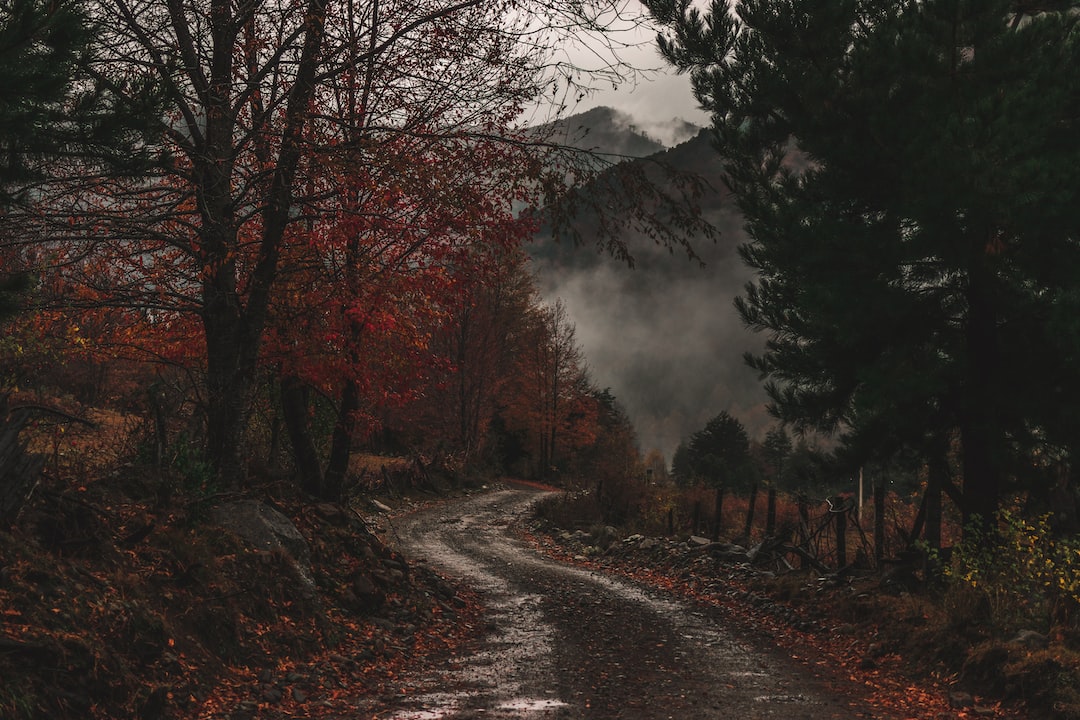
Before we dive into the editing process, it’s important to understand what makes a landscape moodier and more atmospheric. Moody landscapes typically have a darker, more dramatic look, with deep shadows and rich, saturated colors. They evoke a sense of mystery and evoke strong emotions in the viewer. Keep this in mind as we progress through the tutorial.
Importing and Organizing Your Photos
The first step in creating moody landscapes is to import your photos into Lightroom and organize them. Make sure to choose images that have the potential for a dramatic transformation. Look for scenes with interesting lighting, strong composition, and vibrant colors.
Adjusting Exposure and Contrast
The next step is to adjust the exposure and contrast of your photo to enhance its moodiness. Begin by adjusting the exposure slider to darken the overall image. This will create a more atmospheric look. Then, fine-tune the contrast to add depth and dimension to the photo. You can also experiment with the highlights and shadows sliders to bring out details in the dark and light areas of the image.
Enhancing Colors
One of the key elements in creating moody landscapes is the color palette. Moody landscapes often feature deep, saturated colors that add to the overall atmosphere. In Lightroom, you can use the HSL panel to adjust the hue, saturation, and luminance of specific colors in your photo. Experiment with desaturating certain colors while enhancing others to create a more dramatic effect.
Creating a Vignette
A vignette is a popular technique in moody landscape photography. It darkens the edges of the photo, drawing the viewer’s attention to the center of the frame. To create a vignette in Lightroom, go to the Effects panel and adjust the Post-Crop Vignetting sliders. Increase the amount slider to darken the edges, and experiment with the other sliders to achieve the desired effect.
Adding Split Toning
Split toning is a powerful technique that can dramatically change the mood of your image. It involves adding different tones to the highlights and shadows of your photo. To add split toning in Lightroom, go to the Split Toning panel and adjust the hue and saturation sliders for the highlights and shadows separately. Experiment with different combinations to find the perfect balance for your moody landscape.
If you want to learn more about split toning and how it can enhance your images, check out our detailed guide on creating dramatic images with split toning in Adobe Lightroom.
Final Touches and Fine-Tuning
Once you have made the major adjustments to your photo, it’s time to add the final touches and fine-tune the details. This could include sharpening the image, reducing noise, and applying selective adjustments using Lightroom’s adjustment brush or graduated filter. Take your time to fine-tune the image until it matches your vision.
Exporting and Sharing
After all the editing is done, it’s time to export your moody landscape and share it with the world. Lightroom offers various export options to suit different platforms and purposes. Consider the resolution, file format, and compression settings to ensure your photo looks its best.
Conclusion
Creating moody landscapes in Lightroom is an art form that requires a keen eye for detail and a deep understanding of post-processing techniques. By following this tutorial and experimenting with different tools and adjustments, you can unlock your creative potential and transform your landscapes into stunning works of art. Remember to practice and develop your own unique editing style to make your photos truly stand out.
0 Comment