When you unleash the dynamic confluence of photography and digital magic, the result is an awe-inspiring portrait that showcases the true essence of the subject. Portrait retouching, an essential aspect of post-processing, refines this artistic synergy to the next level, enhancing attributes while skillfully minimizing imperfections. Armed with the formidable tools of software like Adobe Lightroom and Photoshop, you can transform your captured images into a work of art.
Understanding the Art of Retouching
Retouching is more than just running your image through filters or cranking up the saturation. It’s a delicate balance of subtle adjustments that highlight the subject’s inherent beauty, preserving realism while removing distracting elements. What makes an excellent retoucher isn’t just the ability to remove imperfections but the discretion on what to retain to keep the subject authentic and relatable.
Setting Up For Success: Initial Raw Processing
Like preparing ingredients before cooking, getting your RAW image properly adjusted forms the base for a successful retouching process. Begin with balancing exposure, correcting white balance, and calibrating color profiles to ensure an optimal starting point for your subsequent edits.
Clearing The Canvas: Spot Removal & Blemish Correction
In portrait retouching, we have the power to immortalize our subjects at their best. Begin by removing temporary imperfections like blemishes, red spots, or stray hairs. Both Photoshop’s Healing Brush and Lightroom’s Spot Removal tool are excellent for this purpose. Remember, the aim is to enhance the image, not alter your subject’s identity.
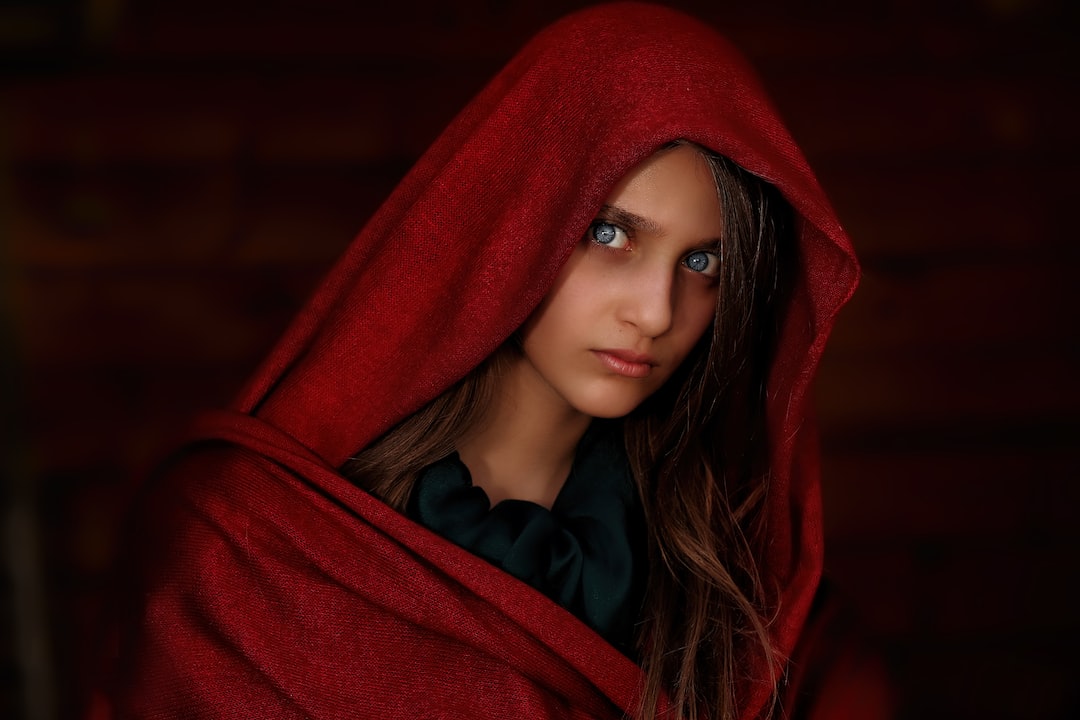
The Eyes Have It: Enhancing The Windows To The Soul
The eyes are often the focal point of a portrait and therefore, deserve special attention. Make them pop by brightening the irises, enhancing the contrast, and, if necessary, removing red veins. A subtle touch can make a significant difference here.
Shaping Perception: Dodge and Burn
Dodge, to lighten, and Burn, to darken, are powerful techniques to shape and enhance facial structure. They allow you to illuminate key features and recess shadows, adding depth and dimension to the portrait. It’s a game of balance: overdoing it might result in an unnatural appearance, while too little might not make a significant impact.
Fine-Tuning: Colour Grading
Colour grading brings a consistent, cohesive look to your images, creating a mood or enhancing the narrative of the portrait. You can use it to make your subject stand out, compliment their features, or even to evoke specific emotions in the viewers.
The Finishing Touch: Sharpening
Sharpening is the final step in your editing process, used to enhance the details of your portrait. Essentially, it increases the contrast along the edges within your photo. Do remember, the aim is to make the picture seem more in focus, not to add noise or distortion. I recommend checking our guide on various sharpening techniques in Adobe Lightroom to achieve the desired results.
Conclusion
Portrait retouching is about enhancing, not altering. Like a sculptor with a chisel, let every stroke be purposeful, contributing to revealing the person in the best possible light, yet keeping their essence intact. Remember, subtlety is key, and less often is more.
Though the journey of mastering retouching techniques might seem daunting initially, remember that even the most seasoned professionals once started at the beginning. Experiment, learn, make mistakes, but most importantly – keep going. Every image you edit brings you one step closer to perfection.
Now that you’re equipped with these essential portrait retouching techniques, it’s time to transform your portraits from ‘good’ to ‘great’. So tell me, which technique will you apply to your next portrait? Let’s start the conversation below.
0 Comment