In the fast-paced world of photography, the studio becomes a photographer’s sanctuary. It’s a place where ideas are born, nurtured, and transformed into art. But how can we maximize this creative space, especially when dealing with limited square footage? This article will delve into designing an efficient studio layout that allows you to get the most out of your space, enhancing both productivity and creativity.
Step 1: Identify Your Needs
The first step in maximizing your studio space is understanding your needs. Every photographer’s requirements are unique, depending on the types of shoots they perform. Are you a portrait photographer needing ample space for backdrops and lights, or a product photographer requiring a large table for staging items? Recognizing your needs will help guide your layout design.
Step 2: Create Zones
One effective strategy in maximizing studio space is creating designated zones. For instance, you could divide your studio into shooting, editing, storage, and client meeting areas. This doesn’t mean you need physical barriers. Even a small studio can feel spacious and well-organized when zones are defined.
Step 3: Choose Versatile Furniture
When working with a small space, versatility is key. Choose furniture that serves multiple purposes. A desk with ample storage can double as a workspace and storage area. Mobile furniture pieces, like a rolling cart for your equipment, can be easily moved around, providing flexibility as your needs change.
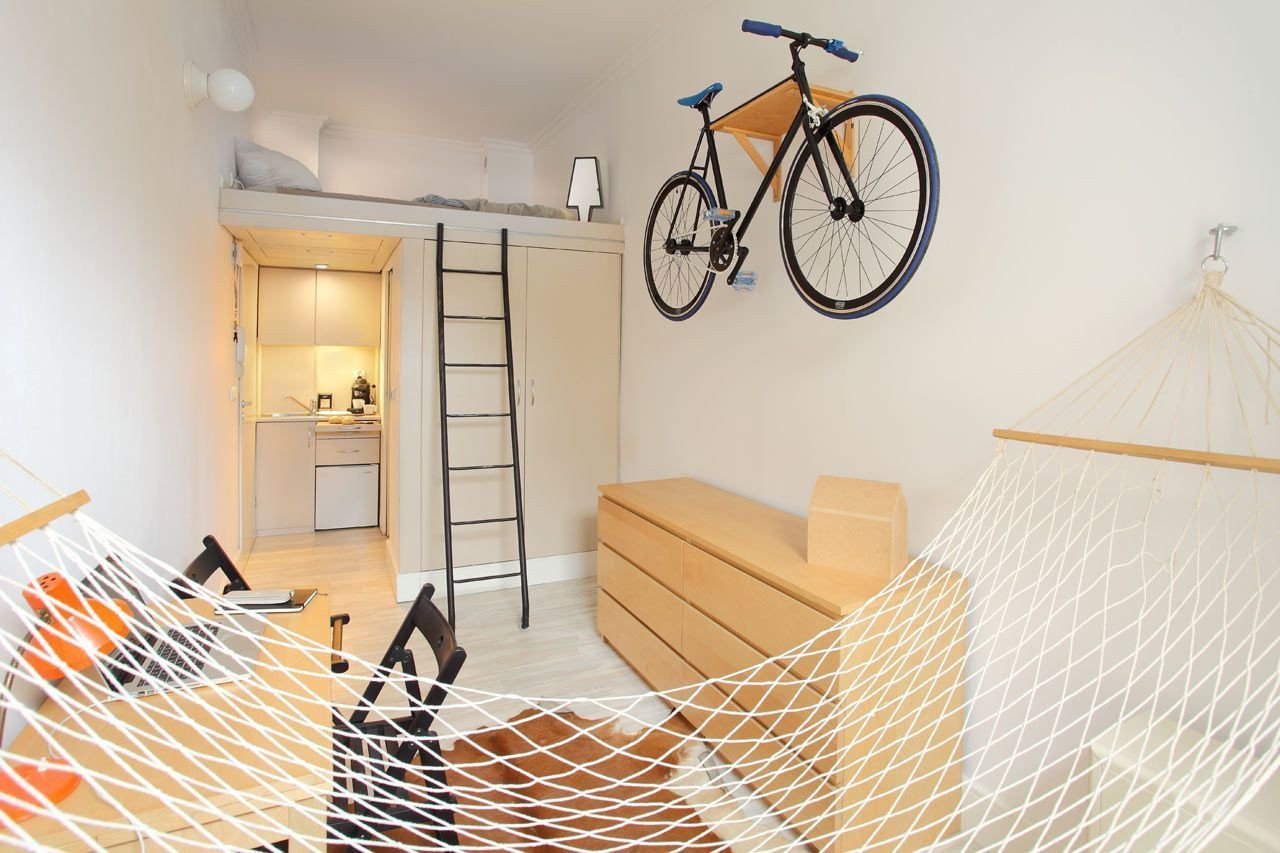
Step 4: Go Vertical
If you’re short on floor space, go vertical. Wall-mounted shelves and racks can be great for storing props, equipment, and backdrops. A ceiling-mounted lighting system can also be a game-changer, keeping your floor space clear while providing adjustable lighting options.
Step 5: Keep It Mobile
In a small studio, mobility is a significant advantage. Opt for light stands with wheels and consider using boom arms for lights to reduce floor clutter. The easier it is to move your gear, the faster you can switch between different setups.
Step 6: Optimize Storage
Effective storage solutions are key to a tidy and efficient studio. Keep items you frequently use easily accessible. Use clear, labeled bins for smaller items like cables, clamps, and modifiers, so you can quickly find what you need.
Step 7: Consider a Collapsible Background System
A collapsible background system can be a lifesaver in a small studio. These backgrounds can be quickly set up and taken down, allowing you to change the scene without taking up valuable storage space.
Step 8: Manage Cables
A cluttered studio can hinder creativity. Cable management is critical in maintaining an organized space. Use cable ties and cable clips to keep your cords tidy and prevent tripping hazards.
Remember, an efficient studio is one that works for you. It may take some trial and error, but finding a layout that allows you to work smoothly and effectively is well worth the effort.
0 Comment