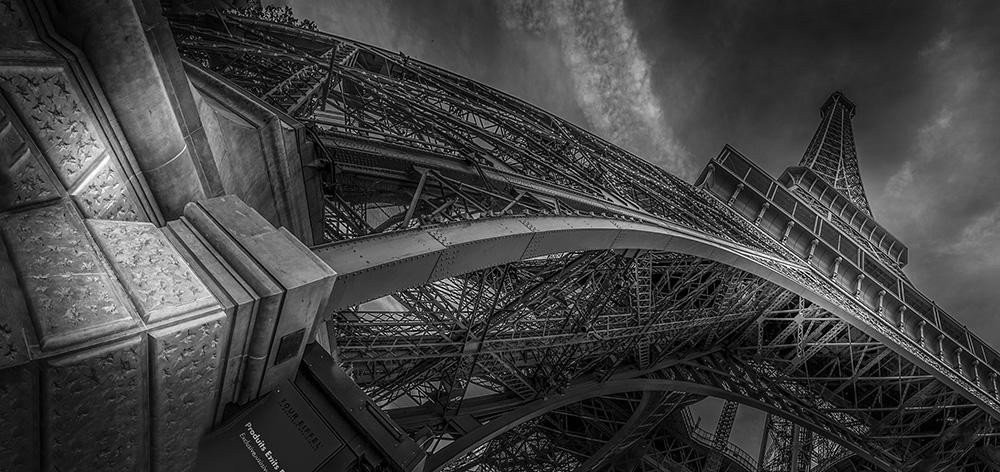
Black and white photography can be evocative, timeless, and sometimes more powerful than its color equivalent. By removing color, you bring out the hidden details, textures, and shapes that may have been overshadowed in a color photograph. And Adobe Lightroom offers one of the best toolkits for black and white conversions. In this tutorial, I will walk you through the process of transforming your color images into impactful black and white photos in Lightroom.
1. Import and Choose Your Photo:
Start by importing your photo into Lightroom. For black and white photography, look for images with strong shapes, textures, and a good range of highlights and shadows. After you’ve chosen your photo, navigate to the Develop module.
2. Convert to Black and White:
In the Basic panel, click on “Black & White” near the top. This converts your photo to grayscale, but we’re just getting started. The real art of black and white photography comes from understanding how to manipulate light and dark tones.
3. Adjust the Black and White Mix:
Scroll down to the Black & White Mix panel. Here, you can adjust the lightness and darkness of individual color channels in your photo. If you want the areas of your image that were originally blue to be darker, move the blue slider to the left. For lighter blues, move the slider to the right. This is where you can really begin to shape the contrast and tonal range of your image.
4. Tweak the Basic Tones:
Go back to the Basic panel and adjust your highlights, shadows, whites, and blacks. A common approach is to pull the highlights down and lift the shadows up. This creates a rich tonal range in your image. Then, adjust the whites and blacks sliders until you’re happy with the overall contrast.
5. Add Clarity and Detail:
Increasing the clarity slider can make your textures pop and give your image a more defined look. Be careful not to overdo it though, as this can lead to a gritty, over-processed appearance.
6. Finalize with a Vignette:
Under the Effects panel, you can add a post-crop vignette. This darkens the edges of your photo, subtly leading your viewer’s eye towards the center of the image.
7. Sharpen:
Finally, apply some sharpening under the Detail panel. Pay attention to the balance between sharpening and noise, especially if your image was shot at a high ISO.
Congratulations! You’ve just created a compelling black and white photo in Lightroom. But don’t stop there. The beauty of black and white photography lies in its diversity and depth. Every image is a new opportunity to experiment with tones, contrast, and textures. Challenge yourself to see the world in black and white, and discover the potential that lies beyond the colors.
In this tutorial, we’ve covered how to convert a color photo into black and white, adjust individual color channels, tweak your tones, and finish your image off with sharpening and a vignette. This should give you a strong foundation for exploring black and white photography further.
Remember, great black and white images don’t just happen—they’re made. It takes a strong understanding of light and a careful hand in post-processing to transform a simple shot into a stunning monochrome image. By mastering these techniques in Lightroom, you’re well on your way to creating black and white images that will stand the test of time.
0 Comment