Black and white photography is a timeless art form that can convey depth, emotion, and drama in ways that color sometimes can’t. In the realm of digital photography, turning a color photo into a black and white masterpiece involves more than just a simple desaturation. With Adobe Lightroom, you have a powerful tool at your fingertips that can help you make the most out of your monochrome images. This tutorial will walk you through the process of transforming a color photo into a striking black and white image using Adobe Lightroom.
1. Import and Basic Adjustments:
Start by importing your chosen color photo into Lightroom. Make initial adjustments such as cropping, straightening, and removing any spots or blemishes. It’s best to make these changes before you start working on the black and white conversion.
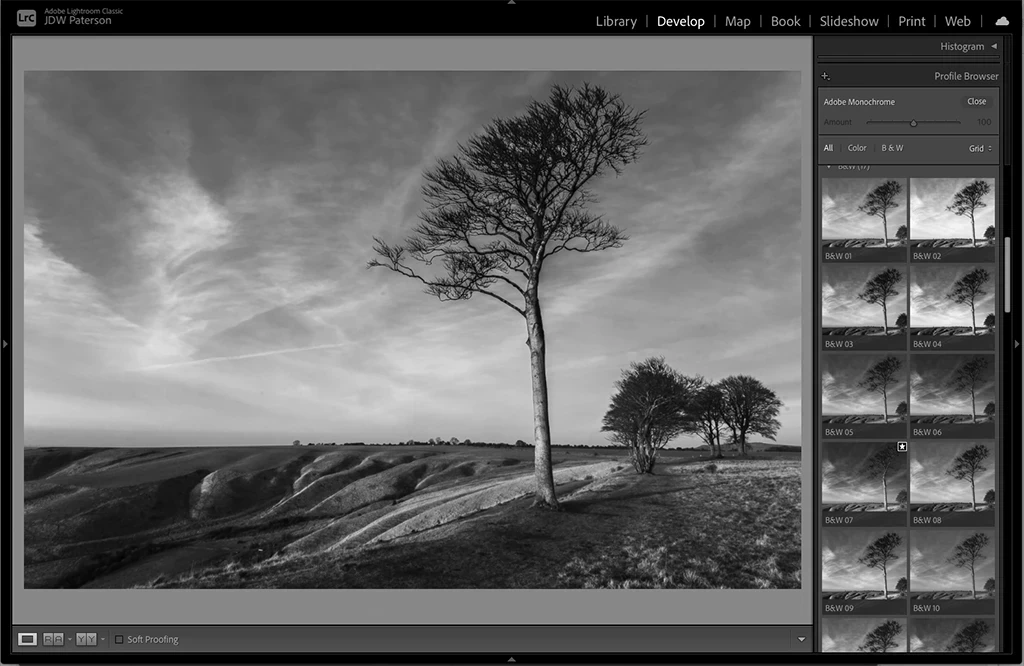
2. Convert to Black and White:
In the Develop module, click on “Black & White” in the Treatment panel. Your photo will now be in black and white, but it’s not very striking yet – don’t worry, we’ll fix that!
3. Adjust the Tone Curve:
Next, navigate to the Tone Curve panel. This is where you can really start to add drama and contrast to your image. Play around with the curve until you’re happy with the amount of contrast. Typically, creating an ‘S’ shape with the curve will add depth to your image.
4. Fine-Tune with Black and White Mix:
The Black and White Mix panel is where you can adjust the grey tones for each color in your image. This can significantly affect the overall look of your black and white photo. For instance, dragging the blue slider to the left can darken a blue sky, creating a more dramatic contrast with the clouds.
5. Add Depth with the Adjustment Brush:
Lightroom’s Adjustment Brush is a powerful tool for enhancing specific areas in your photo. You can use it to darken or lighten parts of your image, add or reduce clarity, and make many other local adjustments. For instance, you might use the brush to lighten the subject’s face to draw attention to it.
6. Don’t Forget to Sharpen:
Finally, navigate to the Detail panel to sharpen your image. Be careful not to overdo it – a little goes a long way, especially in black and white photos.
Remember, editing is a creative process, so feel free to experiment and play around with the settings until you get the look you’re after. While these steps can give you a good starting point, each photo is unique and may require different adjustments.
Black and white photography can open up a whole new dimension in your photographic journey. It’s a way to see the world in different tones and textures, and it can challenge you to improve your skills in lighting, composition, and post-processing. With Adobe Lightroom, you can unlock the potential in your photos and create stunning black and white images that resonate with emotion and depth.
Whether you’re a seasoned photographer or just starting, mastering the art of black and white conversion in Lightroom can add a valuable skill to your editing repertoire. So why not take a break from the world of color and step into the world of grayscale? You might be surprised at what you can create.
Note: While this tutorial is written for Adobe Lightroom, the principles of black and white conversion can be applied to other photo editing software. Happy editing!
0 Comment