Ever wondered how those dreamlike travel photographs with flowing waterfalls and smooth ocean waves are captured? The secret is long exposure photography. It’s a technique that every travel photographer should have in their toolkit to create surreal and captivating images. When used correctly, it can result in some truly unique and mesmerizing photos that make your travel diary stand out.
Understanding Long Exposure Photography
At its core, long exposure photography is a technique where the camera’s shutter is left open for a longer period of time. This allows more light to reach the camera’s sensor, capturing the motion of the scene. It’s an exciting way to express the passing of time in a two-dimensional image.
When to Use Long Exposure
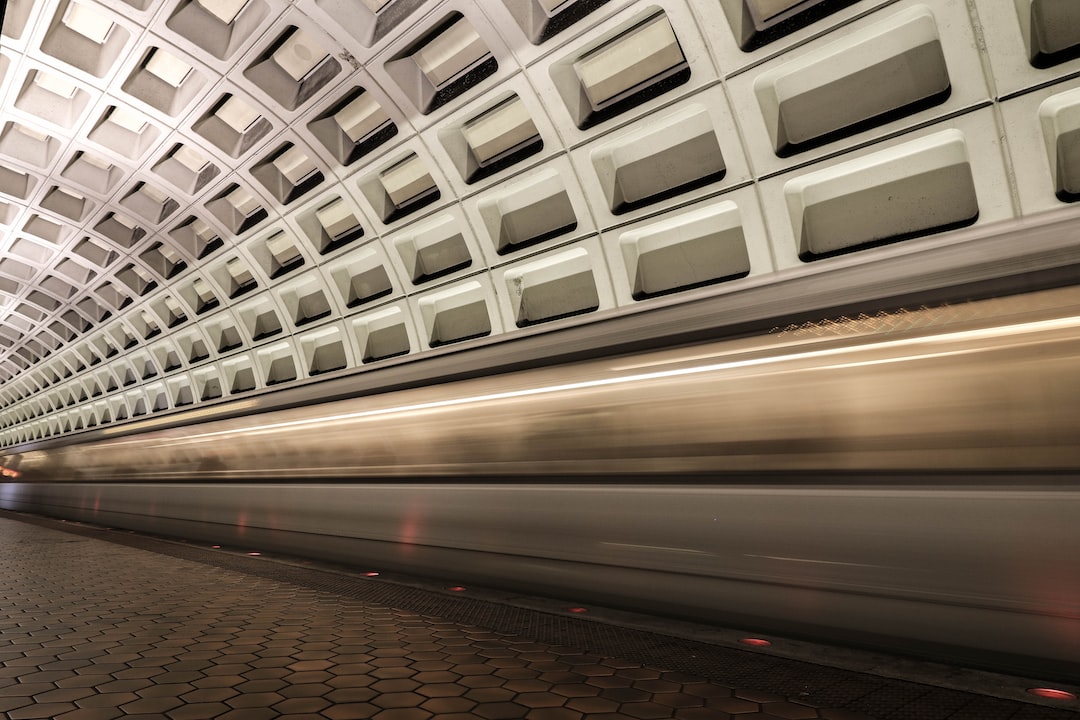
Long exposure can be used any time you want to capture motion in your shot. It’s particularly effective at transforming fast movement into a smooth, flowing visual. Popular subjects for long exposure include waterfalls, rivers, seascapes, and even bustling cityscapes where vehicle lights create streaks of color.
Getting Started with Equipment
Before embarking on your long exposure photographic journey, you’ll need a few essential pieces of equipment aside from your camera and lenses. The long shutter speed makes it impossible to hold the camera steady, so a sturdy tripod is crucial. Another important piece is an ND filter, or ‘Neutral Density’ filter. These limit the amount of light entering the lens, enabling you to keep the shutter open for longer without overexposing the shot.
Setting up the Shot
Firstly, compose your shot. This means deciding what will be in the frame and where. It’s always a good idea to include a steady element against the moving subject. This provides a striking contrast between the static and dynamic elements. Once you’ve got your shot composed, mount your camera on the tripod and attach the ND filter.
Adjusting the Camera Settings
Ensure your camera is set to manual mode. Choose a narrow aperture (higher f-number) to keep all elements in focus. Adjust your ISO to the lowest setting to minimize noise. Now, set your shutter speed. This may need to be tweaked depending on the light and your creative vision but start anywhere from 5 seconds to even a few minutes. Remember, the longer the shutter is open, the more motion it will capture.
Challenges and Solutions in Long Exposure Travel Photography
While long exposure creates stunning results, there are a few challenges you might encounter. The first is overexposure, which can be solved by using ND filters. Another common issue is camera shake, even when using a tripod. A remote shutter release can help mitigate this, by allowing you to trigger the shutter without physically touching the camera.
The Magic of Post-Processing
The processing stage is where the magic happens in long exposure travel photography. Programs like Adobe Lightroom or Photoshop allow you to adjust the colors, contrast, and sharpness to bring your image to life. Here, you may remove any unwanted noise, tweak white balance, or even heighten the dreamy effect by enhancing certain aspects of the motion blur.
Remember, the appeal of any form of photography, especially travel-related, lies in the story it tells. Long exposure merely provides a different, often mystical, lens to narrate your journey. Experiment with locations, subjects, and settings, have fun with it, and see how it transforms your travel photography tips until you find the approach that best captures your story.
To help you master more travel photography techniques for various conditions, explore our travel photography tips on capturing shots in challenging conditions like rain, sun and snow.
With the right combination of knowledge, practice, and imagination, you can indeed captivate the world through your lens. Try this out on your next adventure and share your experiences with us.
0 Comment