In the world of photography, landscape images hold a unique charm. They capture the stunning beauty of nature and offer a sense of tranquility that only vast open spaces can provide. However, to create that perfect landscape photo, there’s a crucial element involved – post-processing. And, Adobe Lightroom is a photographer’s best friend in this process.
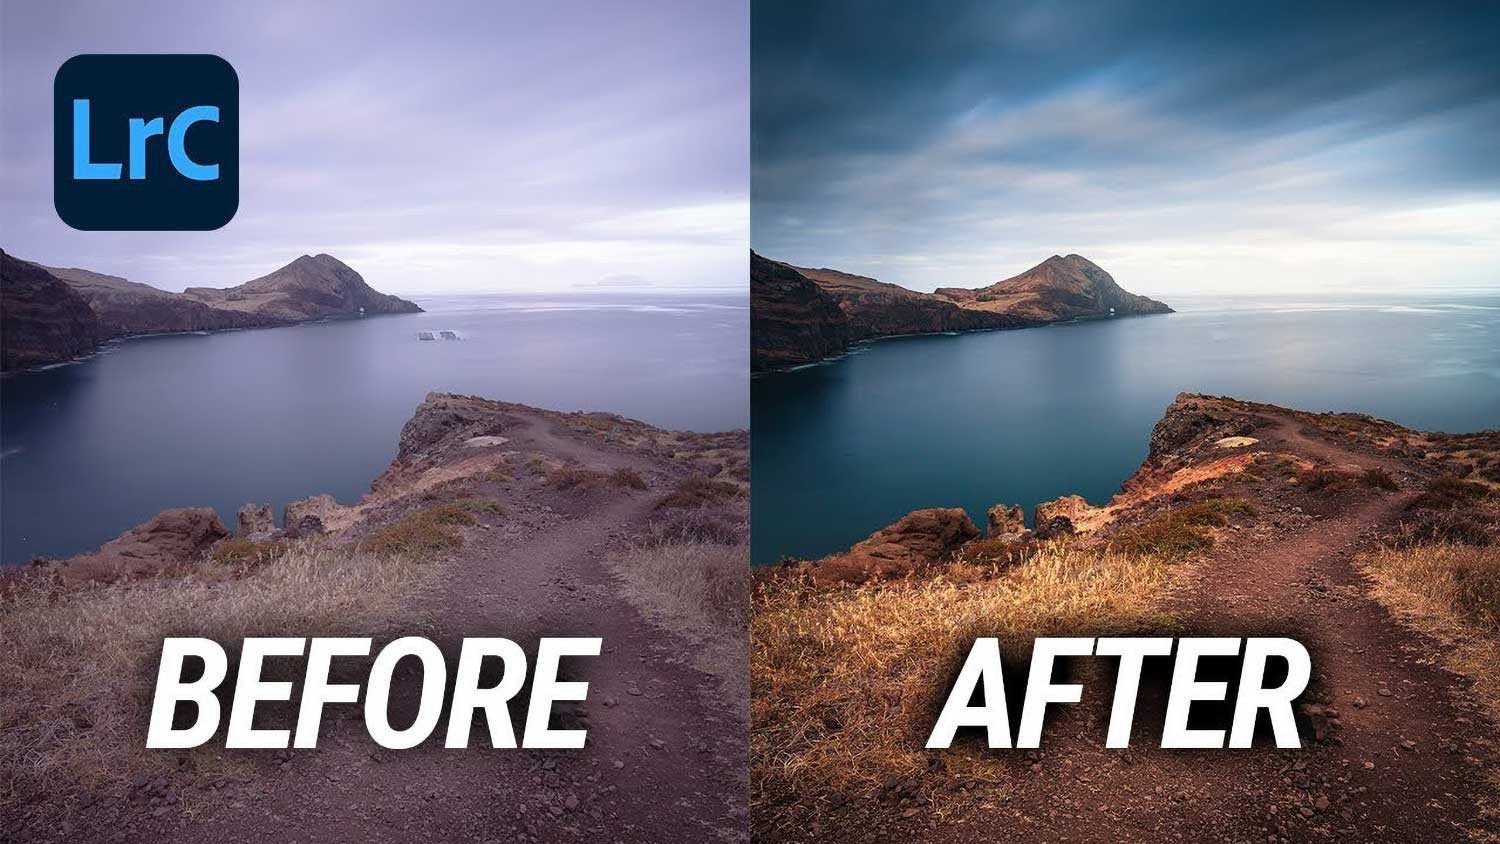
Adobe Lightroom allows you to add that magical touch to your raw images, transforming them into captivating landscapes. In this tutorial, I’ll take you through my step-by-step process of editing landscape photos using Lightroom.
Step 1: Import and Organize Your Photos
The first step in your editing process is importing your photos into Lightroom. You can use the Library module to organize your images effectively. Creating separate folders for different photoshoots or using keywords can make your workflow more efficient.
Step 2: Set the Correct White Balance
Setting the correct white balance is crucial in landscape photography. It can significantly affect the mood and feel of your image. Lightroom offers an “Auto” white balance option, but for more control, you can manually adjust the temperature and tint.
Step 3: Adjust the Exposure
Under the Basic panel, adjust the exposure of your image. Be careful not to overexpose or underexpose your photo. Using the histogram can be a great help in getting this right.
Step 4: Enhance the Details with Contrast
Adding contrast can bring out the details in your landscape photo. Adjusting the contrast slider can make the darks darker and the lights lighter, adding depth to your image.
Step 5: Manage the Highlights and Shadows
Often, landscape photos contain areas that are too bright (highlights) or too dark (shadows). Lightroom provides separate sliders to manage these areas effectively. Reducing highlights can bring back details in the sky, while increasing shadows can reveal more details in the darker parts of your landscape.
Step 6: Add Some Clarity and Vibrance
Clarity enhances the mid-tone contrast and can make your image pop. However, use this sparingly to avoid an unnatural look. Similarly, increasing the vibrance can make the colors more vivid without over-saturating them.
Step 7: Sharpen Your Image
Under the Detail panel, you’ll find the sharpening tool. Adjusting this can add more crispness to your landscape photo. Just be careful not to overdo it, as it can introduce noise.
Step 8: Don’t Forget Noise Reduction
If your image has noise, especially if you’ve shot at a high ISO, the noise reduction tool can be your savior. The ‘luminance’ slider can help smoothen out the noise, but again, moderation is key.
Step 9: Final Touches with Vignetting
Adding a subtle vignette can help focus the viewer’s attention towards the center of the image. You can add a vignette under the Effects panel.
Step 10: Export Your Image
Once you’re satisfied with your editing, it’s time to export your image. Click on ‘File’ > ‘Export,’ choose your desired settings, and you’re done!
Remember, editing is subjective. These are the steps I generally follow, but don’t hesitate to experiment and develop your style. Happy editing!
0 Comment