Introduction
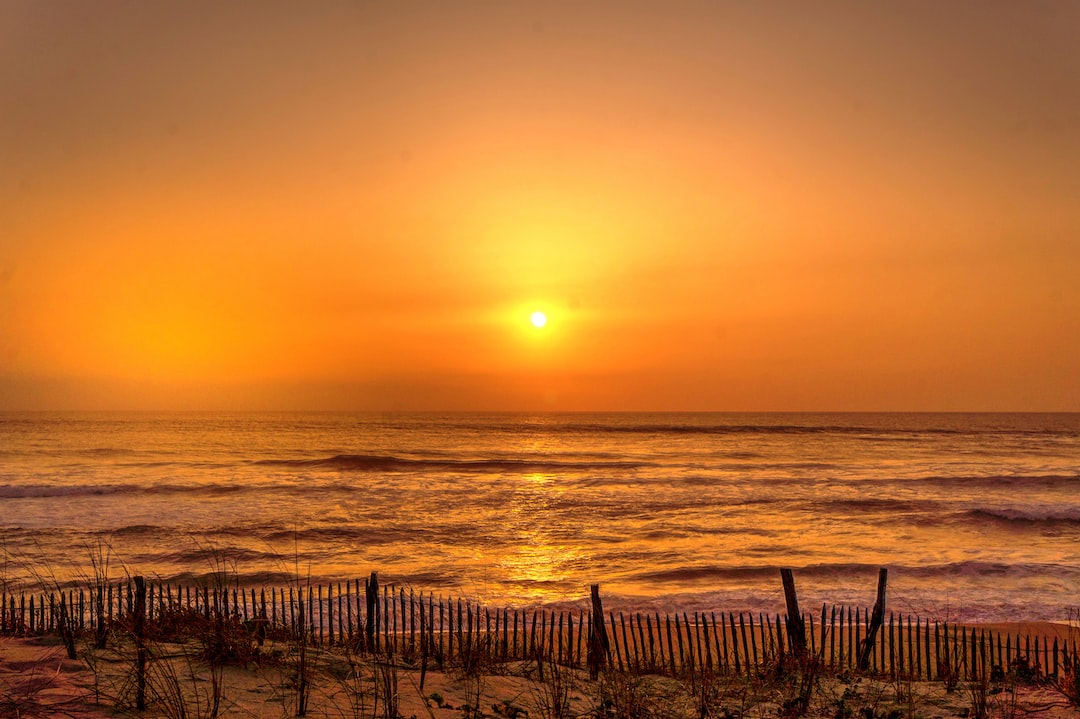
Have you ever seen a photograph and been blown away by the vibrant colors and incredible level of detail? Chances are, you were looking at an HDR image. HDR, or High Dynamic Range, is a technique that allows photographers to capture a wide range of tones and colors in their photos, creating stunning and lifelike results. In this article, we will explore the art of creating HDR images and the techniques you can use to enhance the dynamic range of your photos.
Understanding Dynamic Range
Before we dive into the techniques for enhancing dynamic range, let’s first understand what it is. Dynamic range refers to the range of tones from the lightest to the darkest in a photograph. A photo with a high dynamic range will have details in both the highlights and shadows, resulting in a more balanced and visually pleasing image.
Traditional photography techniques often struggle to capture the entire dynamic range of a scene, especially when dealing with high contrast situations. This is where HDR comes in.
The HDR Technique
HDR involves capturing multiple exposures of the same scene and blending them together using specialized software. By taking a series of photos at different exposures, you can capture a wider range of tones and details.
Once you have your series of exposures, you can use software like Adobe Lightroom or Photoshop to merge them into a single HDR image. The software intelligently blends the different exposures, pulling in details from the highlights and shadows to create a well-balanced photo.
Techniques for Dynamic Range Enhancement
Now that we understand the basics of HDR, let’s dive into some techniques for enhancing the dynamic range of your images:
1. Bracketing
Bracketing is the process of taking multiple exposures of the same scene at different settings. Start by setting your camera to auto-bracketing mode, which will automatically adjust the exposure settings for each shot. Take a series of photos, varying the exposure by 1 or 2 stops between each shot.
2. Tone Mapping
After merging your bracketed exposures into an HDR image, you can use tone mapping to control the overall look and feel of the photo. Tone mapping allows you to adjust the brightness, contrast, and colors of the image to create a desired effect. Experiment with different settings to achieve the look you want.
3. Local Adjustments
Once you have your base HDR image, you can further enhance the dynamic range by making local adjustments. Use tools like the adjustment brush or graduated filter to selectively darken or brighten specific areas of the image. This allows you to bring out details in the highlights and shadows, adding depth and dimension to your photo.
Conclusion
Creating stunning HDR images is all about capturing and enhancing the dynamic range of your photos. By understanding the basics of HDR and implementing techniques like bracketing, tone mapping, and local adjustments, you can bring your photos to life with vibrant colors and incredible detail. So grab your camera, start exploring the world of HDR, and unleash your creativity!
About the Author
John Smith is a professional photographer and photo editing expert. He specializes in HDR photography and has been featured in various publications for his stunning images. Visit his website example.com for more tips and tutorials on photo editing.
0 Comment