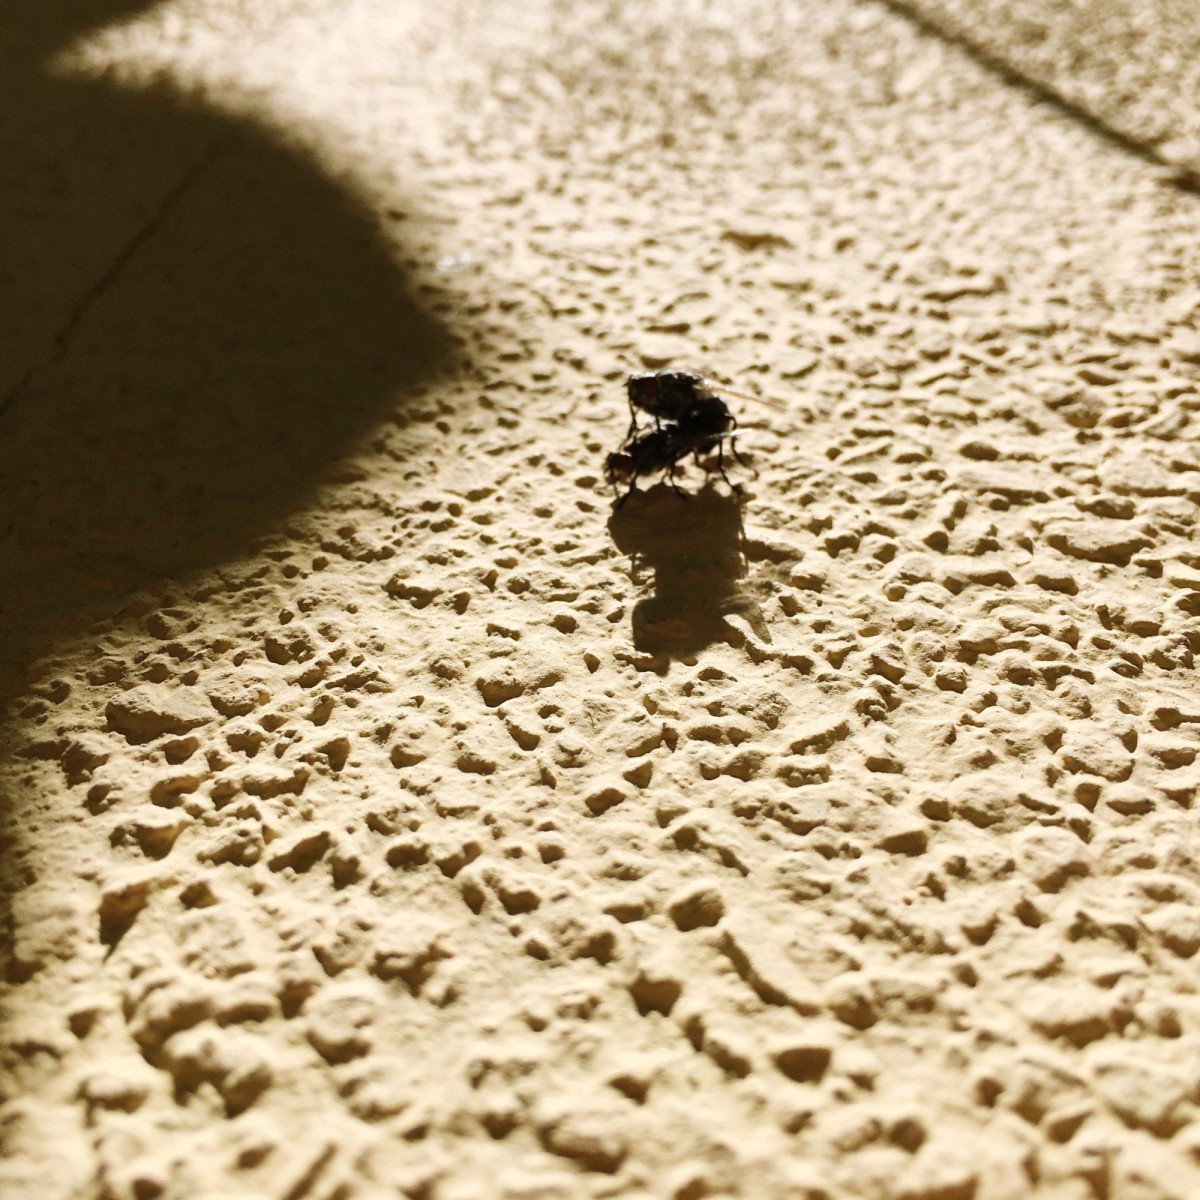
I can remember the first snap I took with my dad’s Polaroid camera – a picturesque sunset silhouetted against the rocky hills of our hometown. The image was stunning, yet something was missing: the depth and interaction of light and its absence – the shadows.
Ever caught yourself glancing at an image and thinking, ‘Wait, how did this shadow come to be?’, or maybe even, ‘This shadow doesn’t feel quite right.’? Shadows have an immense impact on the way we perceive an image; they bring a lifelike quality to static moments captured in time, and mastering the art of creating them can take your work from pleasing to professional.
Get this – approximately 68% of digital art learners declare that managing shadows is one of the most challenging parts of image editing. Hence, mastering this skill can set you apart in this burgeoning space.
We’re here to take the mystery out of shadows today. In this article, we’ll cover the step-by-step process of creating realistic shadows in Photoshop – an essential skill for any photo editor wanting to enhance realism in their work. Who knows, you might even enjoy the conversational stroll we’re going to take through the mysterious alleys of light and shadow.
Understanding Shadows and their Types
Before we dabble in Photoshop, it’s vital to acquaint ourselves with the nature of shadows. ‘Every light has its shadow,’ my uncle used to say, ‘but what’s fascinating is how many types of shadows there are.’ – and ain’t that the truth!
To achieve realism, we need to understand that shadows are not merely an area devoid of light. Shadows have shapes, variations, and sometimes they can be as complex as the subject casting them. But don’t fret! Let’s break down the basic types of shadows you’ll need to know when dealing with photo editing, specifically our topic of interest, ‘creating shadows in Photoshop’.
Form Shadows
First up, we have ‘Form Shadows’
If you’ve ever tried your hand at noise reduction in photography, you might already be familiar with form shadows. They are the subtlest type of shadows, often present on the object itself, lending it depth and dimension. These shadows are softer and gradually blend from dark to light, following the form of the object. While manipulating form shadows, remember to keep the light source direction consistent to maintain realism.
Cast Shadows
Then, we have the ‘Cast Shadows’. Ever noticed your shadow stretching on the sidewalk in the afternoon sun? That’s your classic case of a cast shadow. They are the dark shapes thrown by an object blocking light. Cast shadows can be sharp or blurry, long or short, and their nature depends significantly on the direction, distance, and quality of the light source.
While creating cast shadows in Photoshop, three important factors need attention: hardness/softness, direction, and length of the shadow. But here’s a note of caution – don’t overdo it! It’s rather tempting to make a cast shadow very dark or sharp, but such shadows rarely exist naturally. Less is more when it comes to cast shadows.
Reflection Shadows
Finally, we have ‘Reflection Shadows’, also known as ‘bounce shadows’. When light hits a reflective surface, it bounces off and creates a kind of diffused shadow, which is often overlooked but can significantly enhance the realism of your composition.
Being subtle in nature, reflection shadows can be tricky. They require a keen eye, as they might not be as pronounced or obvious as form or cast shadows, but they offer a remarkable depth to images, especially when working with reflective surfaces. For example, a glossy tabletop or a shiny marble floor would not be complete without the delicate touch of reflection shadows.
Creating Realistic Shadows In Photoshop: A Basic Walkthrough
Having acquainted ourselves with the types of shadows let’s now delve into the heart of the matter – guiding you through the steps of creating realistic shadows in Photoshop. For the purpose of this tutorial, we will primarily focus on creating cast shadows.
- Create a new layer and using the lasso tool, draw your desired shadow shape. The shape doesn’t have to be perfect, remember, you’re trying to mimic nature and there’s no such thing as a ‘perfect’ shadow in the real world.
- Fill your selection with black color using the paint bucket tool.
- Now, for the magic – go to ‘Filter’ > ‘Blur’ > ‘Gaussian Blur’. Adjust the slider to create the desired softness. Remember, the softer the light, the softer the shadow.
- Adjust the Opacity of your shadow layer to make it more transparent and thus, more realistic. Remember, shadows are rarely jet black.
And there you have it – a step-by-step guide to creating realistic shadows in Photoshop. Shadows might feel like the underdogs in the world of photo editing, yet they hold immense power in their subtlety. So don’t let the shadows intimidate you. Embrace the art of shadow-play and watch your work come to life.


0 Comment