A home photo studio is an excellent investment for both professional photographers and hobbyists. It presents a cost-effective, convenient solution for anyone involved in the art, be it product photography, portraiture, or simply wanting to experiment. However, when it comes to setting up a home studio, there are fears about the financial implications. Luckily, with some ingenious tips, you can create a budget-friendly photo studio within your space.
The Perfect Space
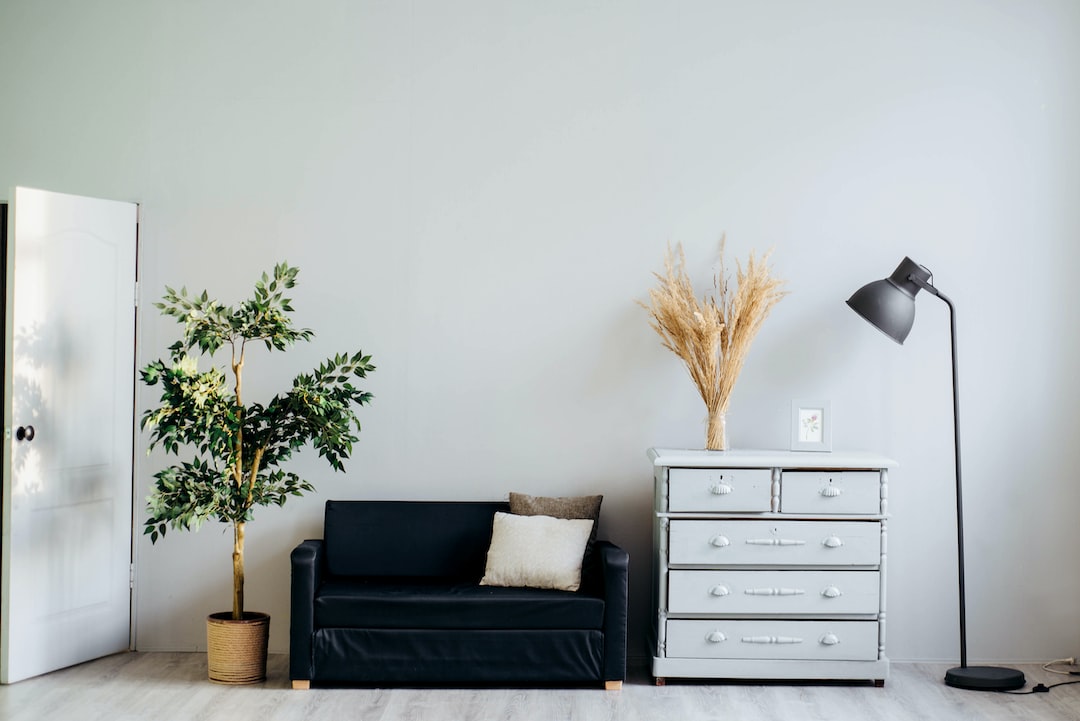
Identifying the ideal area to set up your studio is the first step. It doesn’t have to be massive — a spare room, a corner in your living room, or even a part of your garage can work. It needs to be well-lit or at least allow for efficient control of lighting, and preferably quiet if you plan on shooting videos as well.
Equipment on a Budget
Equipment can be a big expenditure, but with a defined budget, it’s manageable. Look for deals online, buy used equipment, or even consider renting. The key elements to focus on include a good camera, a tripod, a quality light source (like a softbox or umbrella), and reflectors. As you grow, you can gradually add more items like backdrops, props, and more advanced lighting techniques.
Lighting Tricks
Light serves as the essence of photography; understanding how to manipulate it is crucial. Use existing natural light wherever possible by placing your setup near a window or installing sheer curtains to diffuse sunlight. Alternately, consider desk lamps for filler light or bounce flash off a white ceiling or wall.
Backdrops on a Shoestring
You don’t need fancy backdrops to produce excellent photos. You can utilise a plain wall in your home or a bed sheet. If these are not available, acquisition of a simple White or Chroma Green paper roll is a good starting point. In time, you can extend your collection.
DIY Props
Props add depth to your images but can also be expensive. Start with items already available in your home — vases, mirrors, books, even furniture can serve as a prop. Consider investing in a simple table and a few abstract items that can be reused in a variety of shots.
Build instead of buying
One of the smart ways to save big on setup costs is through DIY (Do It Yourself) projects. For instance, light stands and table tops can be constructed using PVC pipes or wood. DIY softboxes can be fashioned out of a cardboard box and aluminum foil. Online tutorials are aplenty and can guide you through these projects.
Editing Software
Capturing image is only half the job; editing these taken shots to professional quality is the other half. Thankfully, there are plenty of free and affordable editing software out there. GIMP, for example, offers a wealth of features comparable to Adobe Photoshop but is entirely free.
Also, remember that designing a photo studio for newborn and maternity photography may require specific settings and props. Make sure to check our detailed guide here if you are interested in this particular niche.
Final Thoughts
Setting up a budget-friendly home photo studio is entirely possible with careful planning and a bit of creativity. Remember, the goal isn’t to make a picture-perfect studio but a functional one that meets your specific needs. When it comes to photography, the results are what matter – not the price tag of your equipment.
Having a home studio can immensely enhance your productivity. Meanwhile, it can also spare you the hassle of finding and renting locations. With a bit of strategic spending, you can have a fully functional, efficient, and low-cost photo studio right in the comfort of your home.
We hope these tips have given you a starting point for creating your own budget-friendly home photo studio. If you have any questions or suggestions, or perhaps you would like to share your own experience setting up a home studio, please feel free to leave a comment below. We always love hearing from our community.
0 Comment