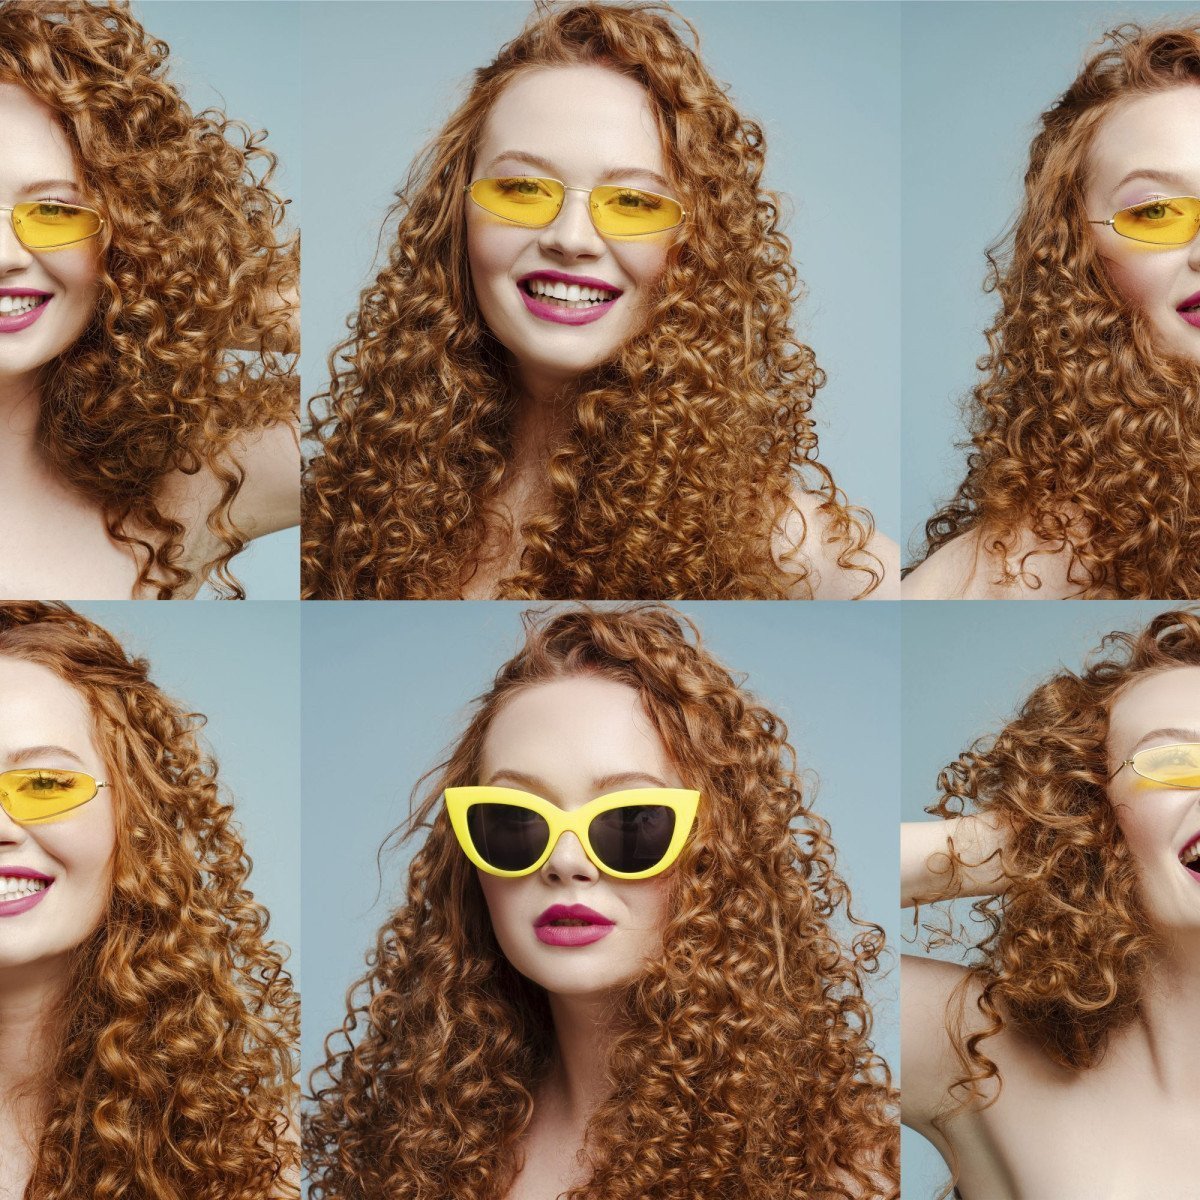
Imagine you’re scrolling through Instagram, stopping at a magazine quality portrait. You can’t help but ask yourself, ‘How do they get the skin to look so flawless?’ The secret my friends, lie not just in the hands of skilled makeup artists, but also in the realm of photo editing.
Did you know, 68% of adults edit their selfies before posting them online? That means more than half of us are already unlocked the doors of this post-processing magic. The question is not whether you can, but how well you can. Fret not, for we are about to embark on a journey of pixel level perfection – Beauty Retouching in Photoshop.
Let’s start our journey with skin retouching. It’s an integral part of beauty retouching that should be approached with a balance of subtlety and finesse. Going too far can make the skin look artificial. After all, we’re not aiming to create plastic dolls, are we? To avoid going overboard, we’ll use a technique called frequency separation. This method allows us to separate the skin’s texture from its color, enabling us to work on each aspect independently. Exciting, isn’t it?
If you are a foodie photographer dabbling into portraits, check this article on lightroom editing tips that can complement your Photoshop skills.
Stepping forward from skin retouching, we stumble upon another essential aspect – Dodging and Burning. Sounds pretty dramatic, doesn’t it? This technique, commonly referred to as D&B, is used to selectively darken and lighten parts of the image. It’s like contouring in makeup – with the right strokes, you can chisel out cheekbones, slim a nose, even iron out skin unevenness. Remarkable as it may sound, a word of caution – like contouring, less is more. Remember, we’re enhancing, not reconstructing!
Now, let’s shift our focus to the eyes. In the world of beauty retouching, eyes are the windows to not just the soul, but to an effective retouch. Bright, sharp eyes with distinct catch lights can breathe life into an otherwise flat image. And achieving it is easier than you might think. The Sharpen Tool, selectively used, can enhance the iris and eyelashes, while Dodge and Burn can be used to bring out the catch lights.
Fun Fact – Did you know, by simply adding additional catch lights, you can change the mood of the entire image? It’s all in the eyes, mate!
Moving on from the eyes, take the Bloat Tool for a spin in your quest for beauty retouching. This tool, quite paradoxically, can be used to trim those millimeters! A subtle reshaping of the model’s face or body can be achieved simply by strategically pulling the pixels. Just remember, subtlety is key.
Next, let’s talk about color grading, the unsung hero of a successful edit. Here, you’re painting with colors, creating an atmosphere that complements the personality of your subject. Tweaking the color balance, adding a selective color layer, or playing with gradients – every action can morph the mood of your image.
On the finishing line of this retouching marathon, one last hurdle. The tiny but vital details make a huge difference. Cleaning up stray hairs, softening sharp edges, or adding a hint of gloss to the lips; these may be minute adjustments, but trust me, they haven’t escaped the viewer’s notice! In the realm of retouching, the devil truly is in the details.
With all said and done, remember, the power of beauty retouching comes from the sensitivity of the practitioner. The goal isn’t to transform, but to transcend; not to alter, but to enhance; and above all – to reveal the inherent beauty of your subject. So, are you ready to master the world of beauty retouching in Photoshop?


0 Comment