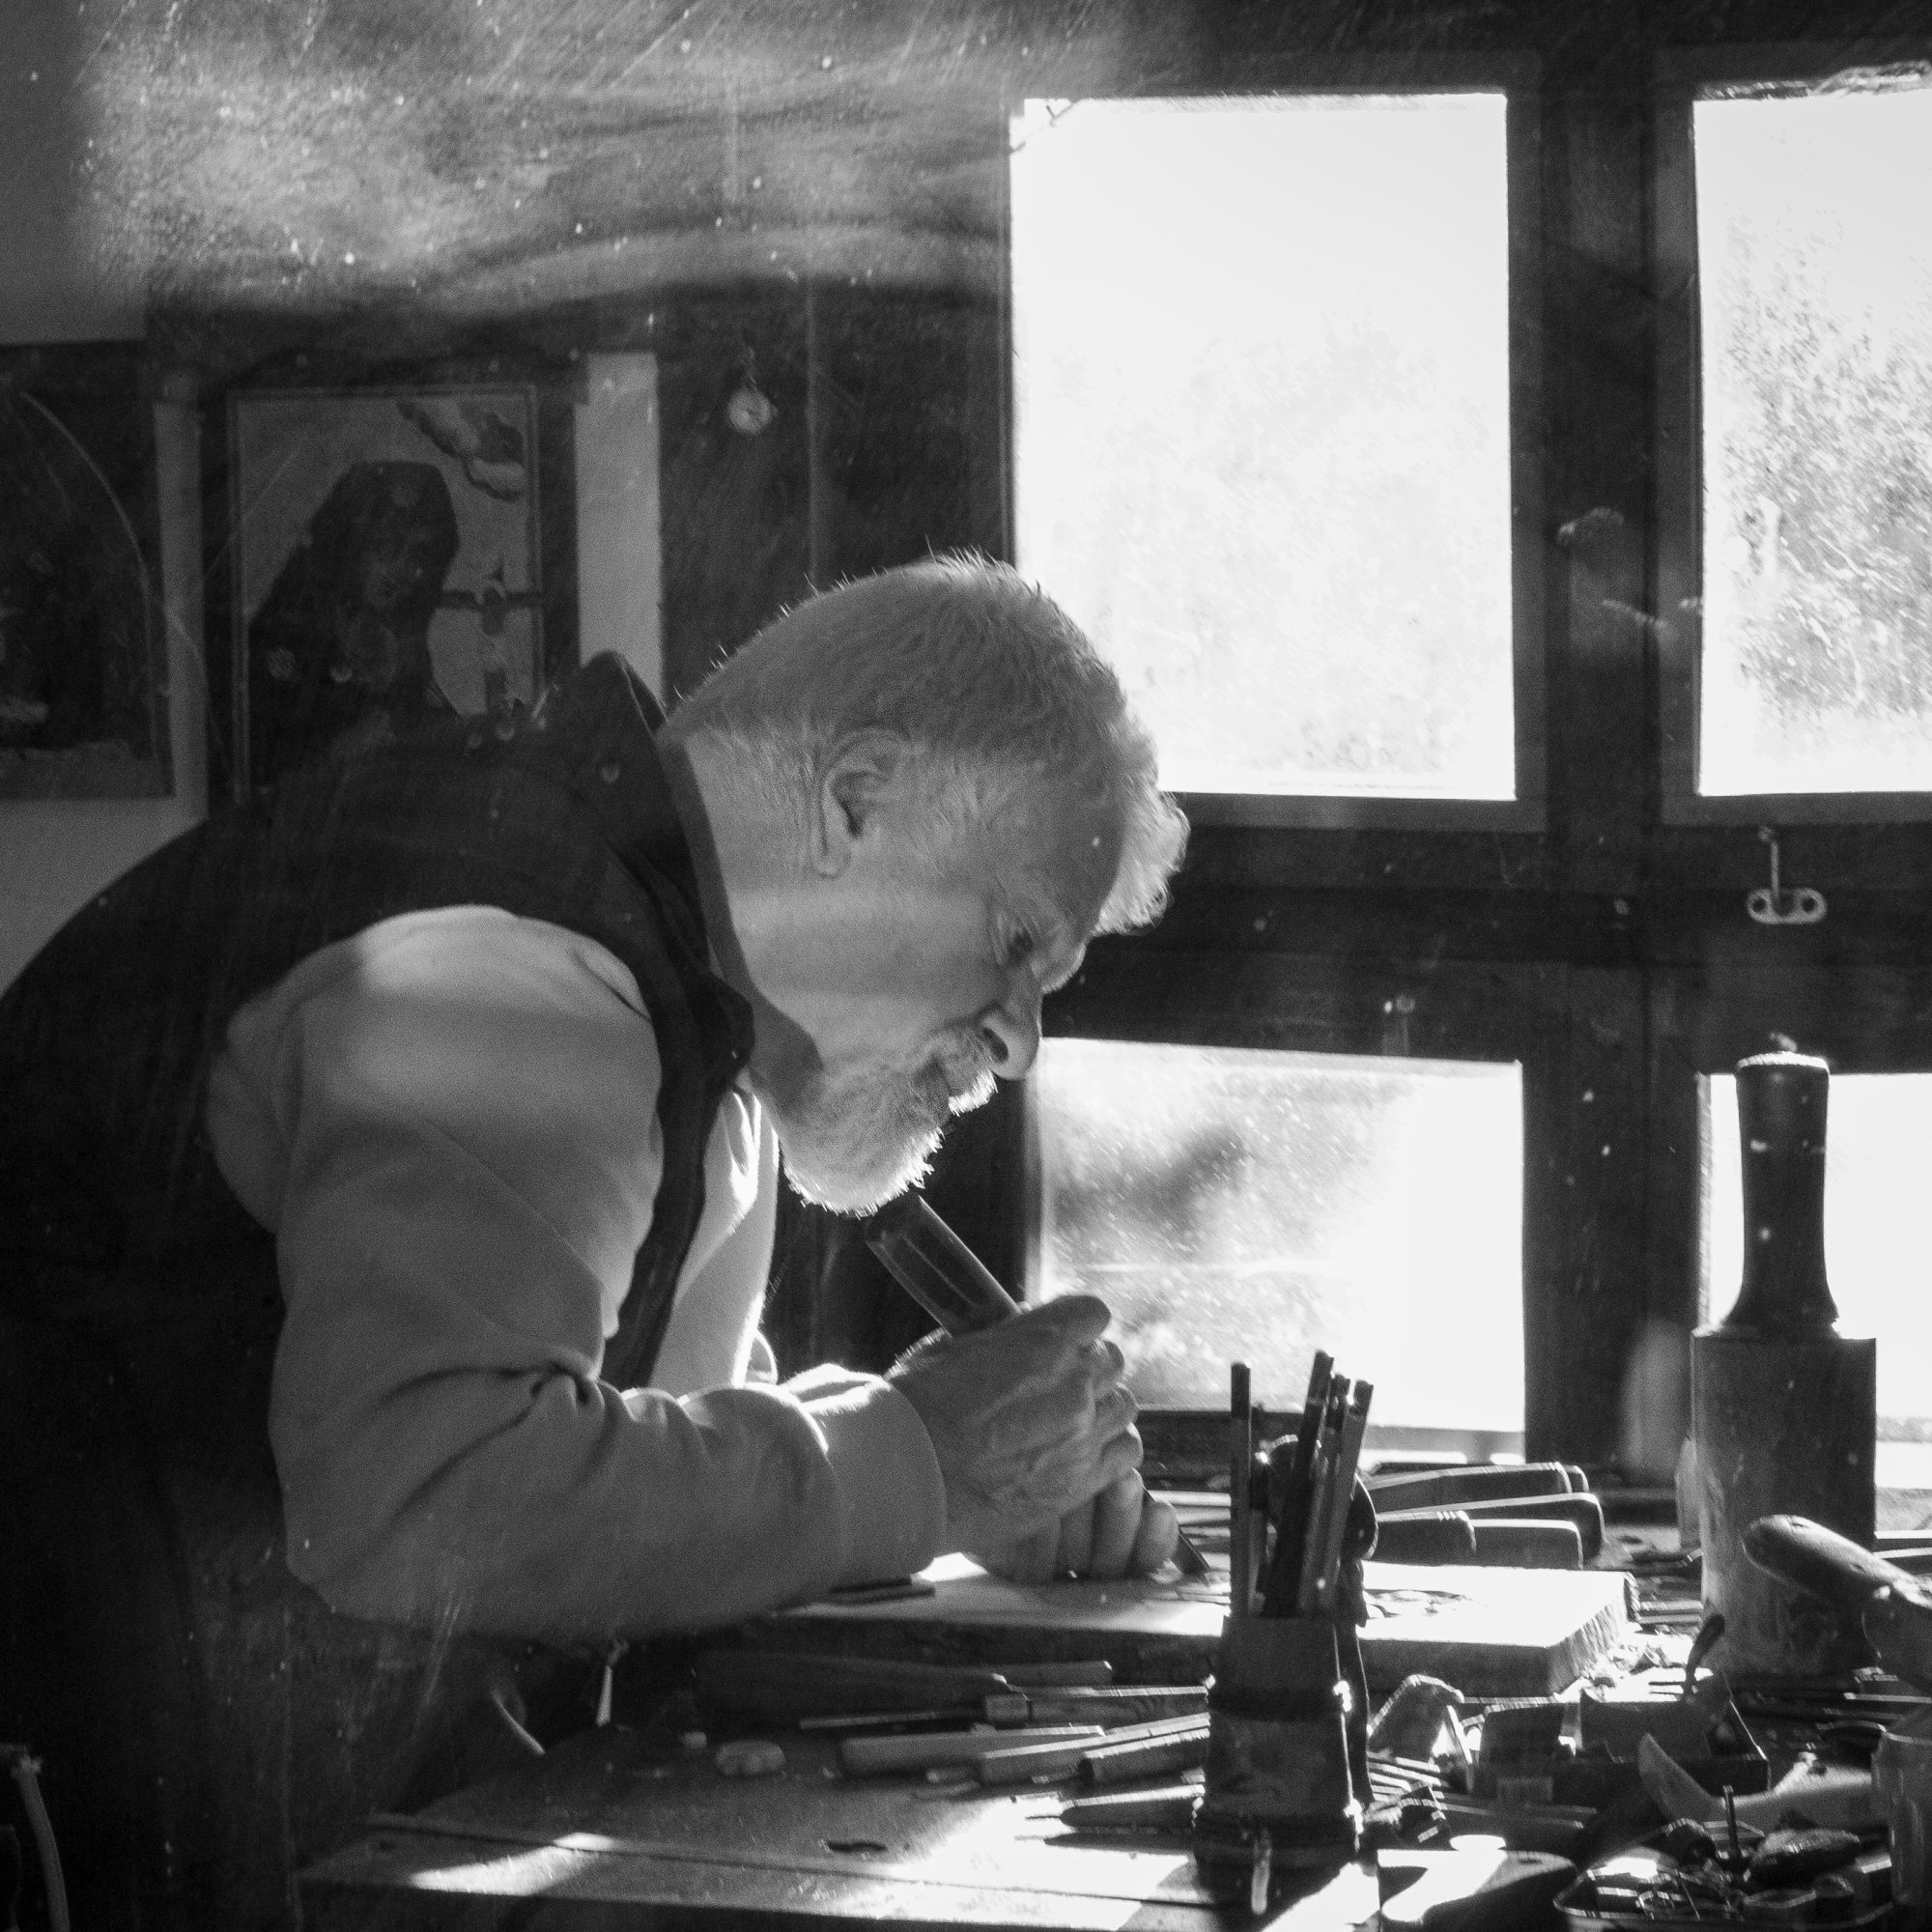
There’s something timeless about black and white photographs, isn’t there? I remember rummaging through my grandparent’s old photo albums – scenes of everyday life, special events, and portraits, all cast in stark monochrome. They had a certain magic, a certain depth that modern color photos sometimes miss. Can you recapture that magic with your digital photos? Absolutely!
Did you know that 46% of photographers prefer black and white images when it comes to digital photography? Surprising, isn’t it? Especially in an age of vibrant, saturated colors. But that’s the charm of black and white – its ability to cut through the noise, focusing on the raw emotions and details that color sometimes overshadows.
Understanding the Art of Monochrome
“But how do we translate colors into those enchanting shades of gray?” you might ask. The answer lies in understanding the basic principles of black and white photography and the right post-processing techniques. In fact, even if you’re an Adobe Lightroom or Photoshop enthusiast, you’ll be amazed how a little split toning lightroom magic can hand you the reins of tonal control.
Let’s break down the process!
Capturing the Grey Scale
First, let’s talk about what sets black & white photography apart: the grey scale. An image stripped of color relies solely on a range of black, white, and greys, creating different tones. It’s not mere desaturation; it’s translating hues into luminance. Each color, depending on its intensity, converts into a particular shade of grey, giving us the tonal depth we admire.
Imagine you’re photographing a red apple sitting next to a green one. In color, they’re distinct, right? But in grayscale, if both colors have the same luminance, they would appear the same shade of grey, making them nearly indistinguishable. So, your task is to control how colors convert into greyscale, how they interact in this monochrome realm.
Using Lightroom’s Black & White Mix Panel
The Black & White Mix Panel in Lightroom is your magic wand here. It lets you adjust the grey shades for each color in your photo individually. So, your red apple and green apple can have distinct grey shades, maintaining their identity even in black & white. It’s like being a conductor, bringing harmony to the various ‘voices’ in your grayscale orchestra.
Exploring Advanced Techniques
Once you’ve mastered the Mix Panel, it’s time to push the boundaries. Consider playing with contrast and tonal range. This can help you highlight your subject or create a dramatic atmosphere in your image. Higher contrast will make the blacks blacker and the whites whiter, giving your image a bold, impactful look. Adding a bit of grain can also infuse an old-world charm into your pictures, channeling that vintage vibe.
Remember that anecdote about my grandparents’ photo album? Replicating that might seem like a daunting task, but with a bit of experimentation and a dash of creativity, it’s within your reach. Mix and match different processes, play around with the elements of your image until it feels just right to you.
Final Thoughts
Creating stunning black & white digital images isn’t just about taking away colors. It’s about recognizing the potential of your image in a different spectrum, and how that spectrum can narrate a story through shades of grey. So, are you ready to take the leap into this monochrome world and rediscover the magic of black & white photography?


0 Comment