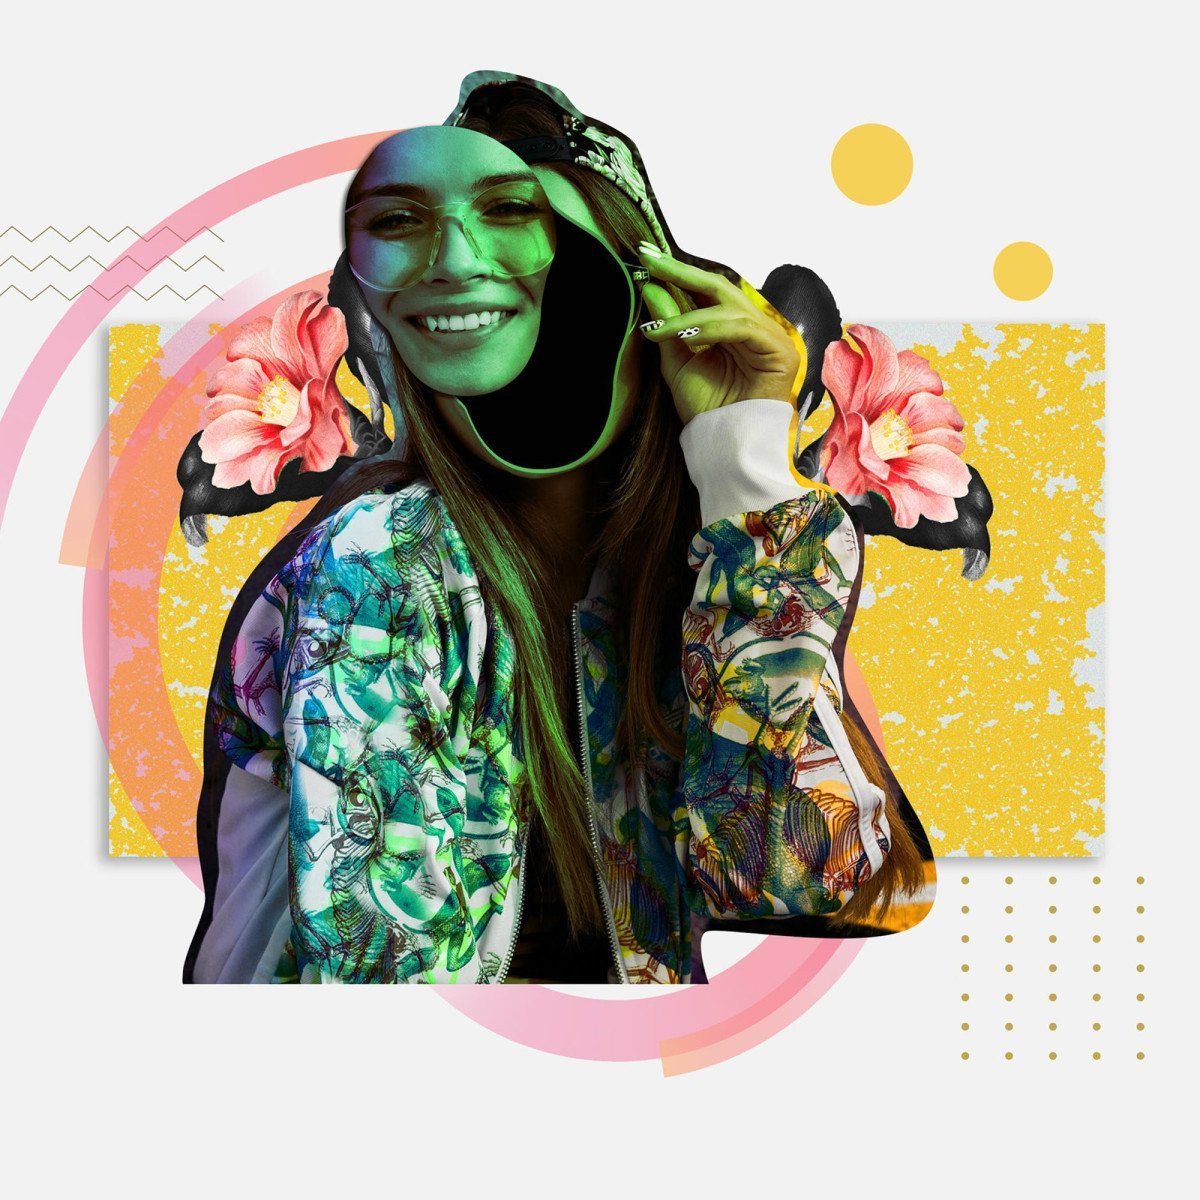
It was the summer of ’89, and as a fresh photography grad, I was struggling to capture the imagination of the art world with traditional photography techniques; until one quirky opportunity knocked. A band needed a unique album cover, and suddenly, I was faced with a challenge: how to make standard band shots look out-of-this-world interesting?
‘How about multiple exposure?’, my mentor casually suggested. ‘Why double when you can triple, quadruple or quintuple the fun?’ And fun it was!
Although multiple exposure photography wasn’t new in the film era, the rediscovery and reinvention of this technique with digital cameras are like fireworks on a dark night. Did you know that only around 22% of photographers (both hobbyists and pros) use this method regularly? That’s surprising, given how multiple exposures can add a touch of surrealism and artistic flair unmatched by any other technique.
Unveiling Multiple Exposure
Envision this: waves crashing against a lighthouse during a storm, seamlessly merging with a tranquil image of that very lighthouse bathed in the soft hues of a sunset. That’s the magic of multiple exposure photography. It’s like a sandwich of images, each adding its own distinct flavor to the composition, and when done right, the result is strikingly beautiful.
Long before I could elegantly capture ‘golden hour portraits’, multiple exposure was my ‘golden ticket’ into crafting visual imagery that tells stories beyond the obvious. So how exactly do you start this incredible journey? Let’s dive in!
Settings for Spectacular Double Exposure
Granted, multiple exposure could feel like grappling with a Rubik’s cube at first. But fear not, here’s your step-by-step guide to nailing those settings.
-
Know Your Camera: Some cameras have enticing modes like ‘Multiple Exposure’ or ‘Image Overlay’. Break open that manual and unlock this secret power in your camera!
-
Expose Right: Mastering exposure is key. When overlaying photos, your camera interprets a black area as devoid of exposure, while white is fully exposed. Thus, to create seamless blendings, avoid extremes of over- or under-exposure in the individual shots.
-
Count the Layers: The number of exposures effects the final image’s brightness. Two photos? Each should be underexposed by one stop. Three photos? Then, underexpose each by 1.5 stops. You get the knack.
-
Blend the Pictures: Discover the possibilities of the blend modes in editing software such as Adobe Lightroom or Photoshop – discerning the ‘Screen’ from ‘Multiply’ makes a mighty difference.
The Art of Selecting Images
“But how do I choose which images to combine?” a voice in the back of your head questions. Hold that thought, and we will walk you through that next.
Choosing the right images for multiple exposures is similar to selecting ingredients for a gourmet dish. Each component should not only taste good independently, but, when combined, should create a melody of flavours. Your first image often lays the foundational structure or ‘canvas.’ Look for silhouettes, patterns or architecture. The second can add the details, textures, or ‘colour’ to the frame. A close-up of foliage, raindrops on a window, or colourful graffiti works wonders. Add odds and ends into your image blend, and voila – you have elevated the quotidian to the extraordinary.
Mastering the technique using your imagination
When I first started playing with multiple exposures, I was frequently disappointed. The serendipity of the unexpected result can be both exhilarating and frustrating. But stick with it. Like a good wine, your technique will refine and mature over time. Remember, there are no wrong turns in the journey of creativity – just detours towards evolution.
So, ready to dip your toes into the mesmerizing world of multiple exposure photography? May the maelstrom of your creative genius be unleashed without restraint!


0 Comment